Getting and restoring a Sun Ultra 1 Workstation

My IT career adventures started at around the year 2006. Well into the 21st century. Since then I got to experience the rise and adoption of Virtualization, The Cloud, and now a thing called Serverless. We live in wonderful times where IT resources are (almost) limitless and there are ridiculous amount of compute, memory and storage resources available in our pockets and on our fingertips.
For this reason, I am a fan of stepping back. Back to a time that missed me. A point in time when you needed a workstation computer to do your daily work. A time of Silicon Graphics, Sun SPARC Systems, Next Stations and the like. I’ve never experienced that nor did I ever had a chance to play around with machines like that.
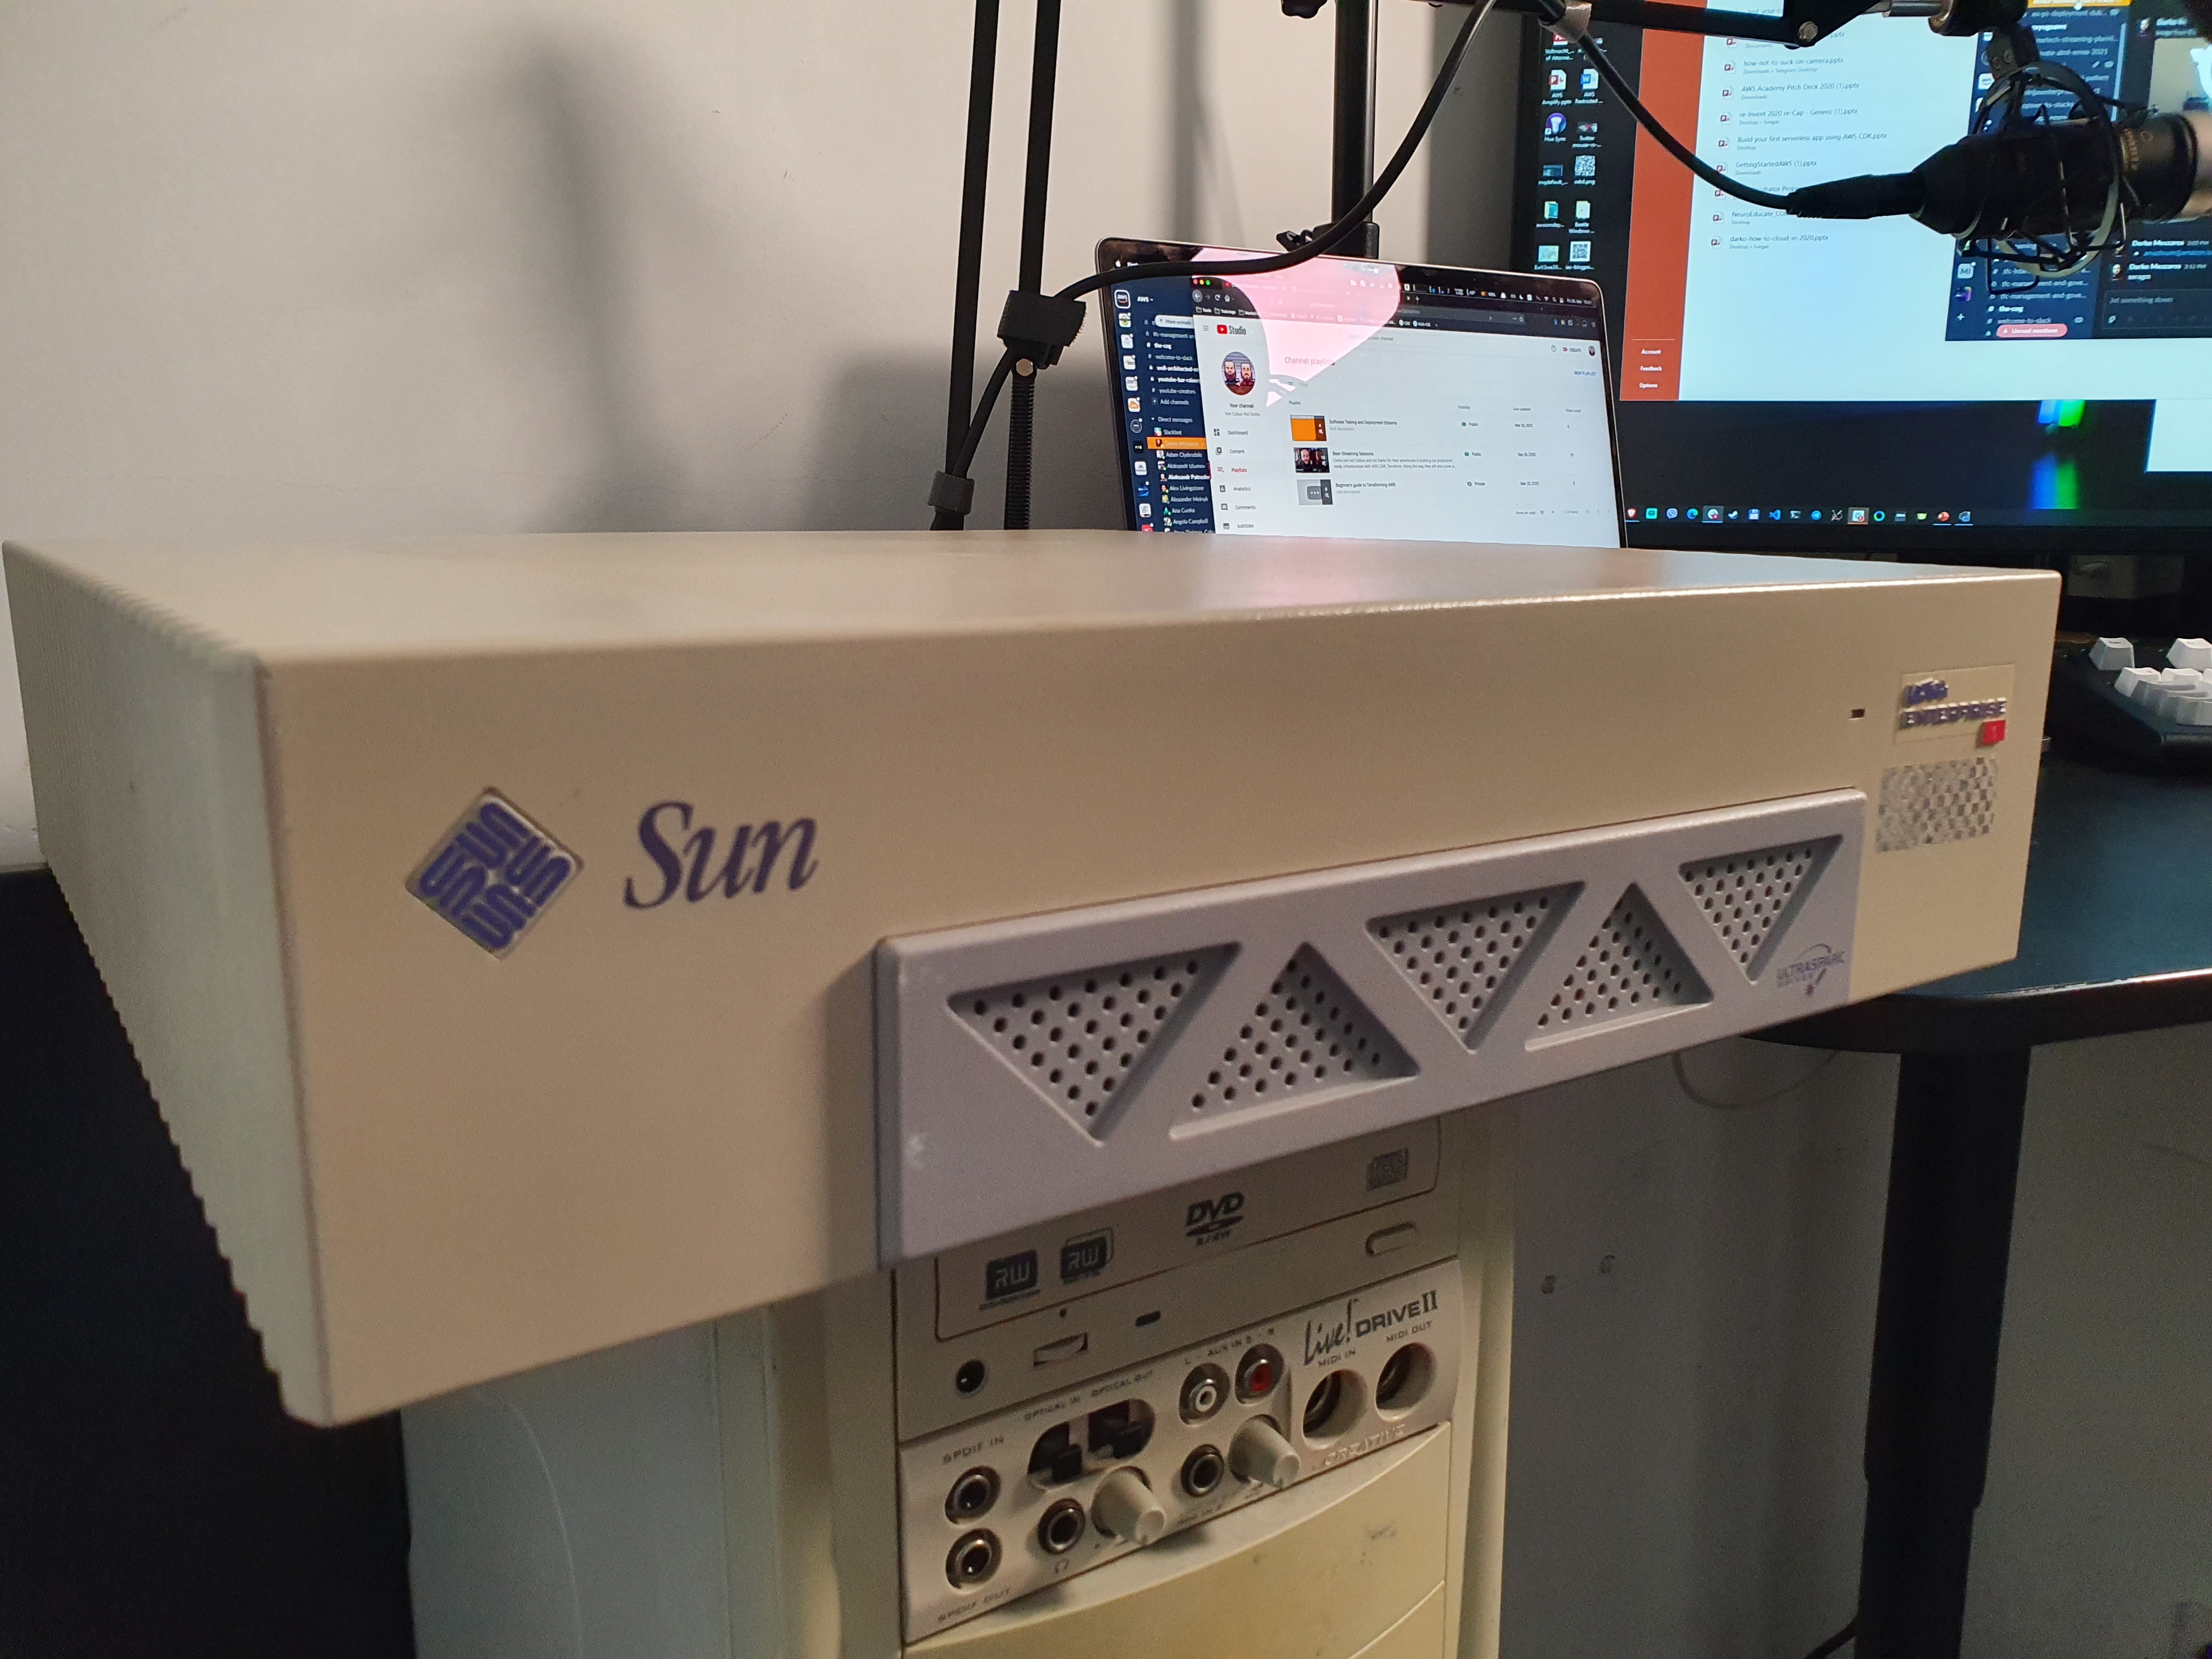
Guess what - I got myself a Sun Microsystems workstation. A Sun Ultra 1 Creator workstation from 1995. This was (is) a thing of beauty, and here are it’s specs:
- 143Mhz Sun SPARC CPU
- 192 MB of RAM
- 2.4 GB SCSI Hard Disk Drive
- 2x CD-ROM
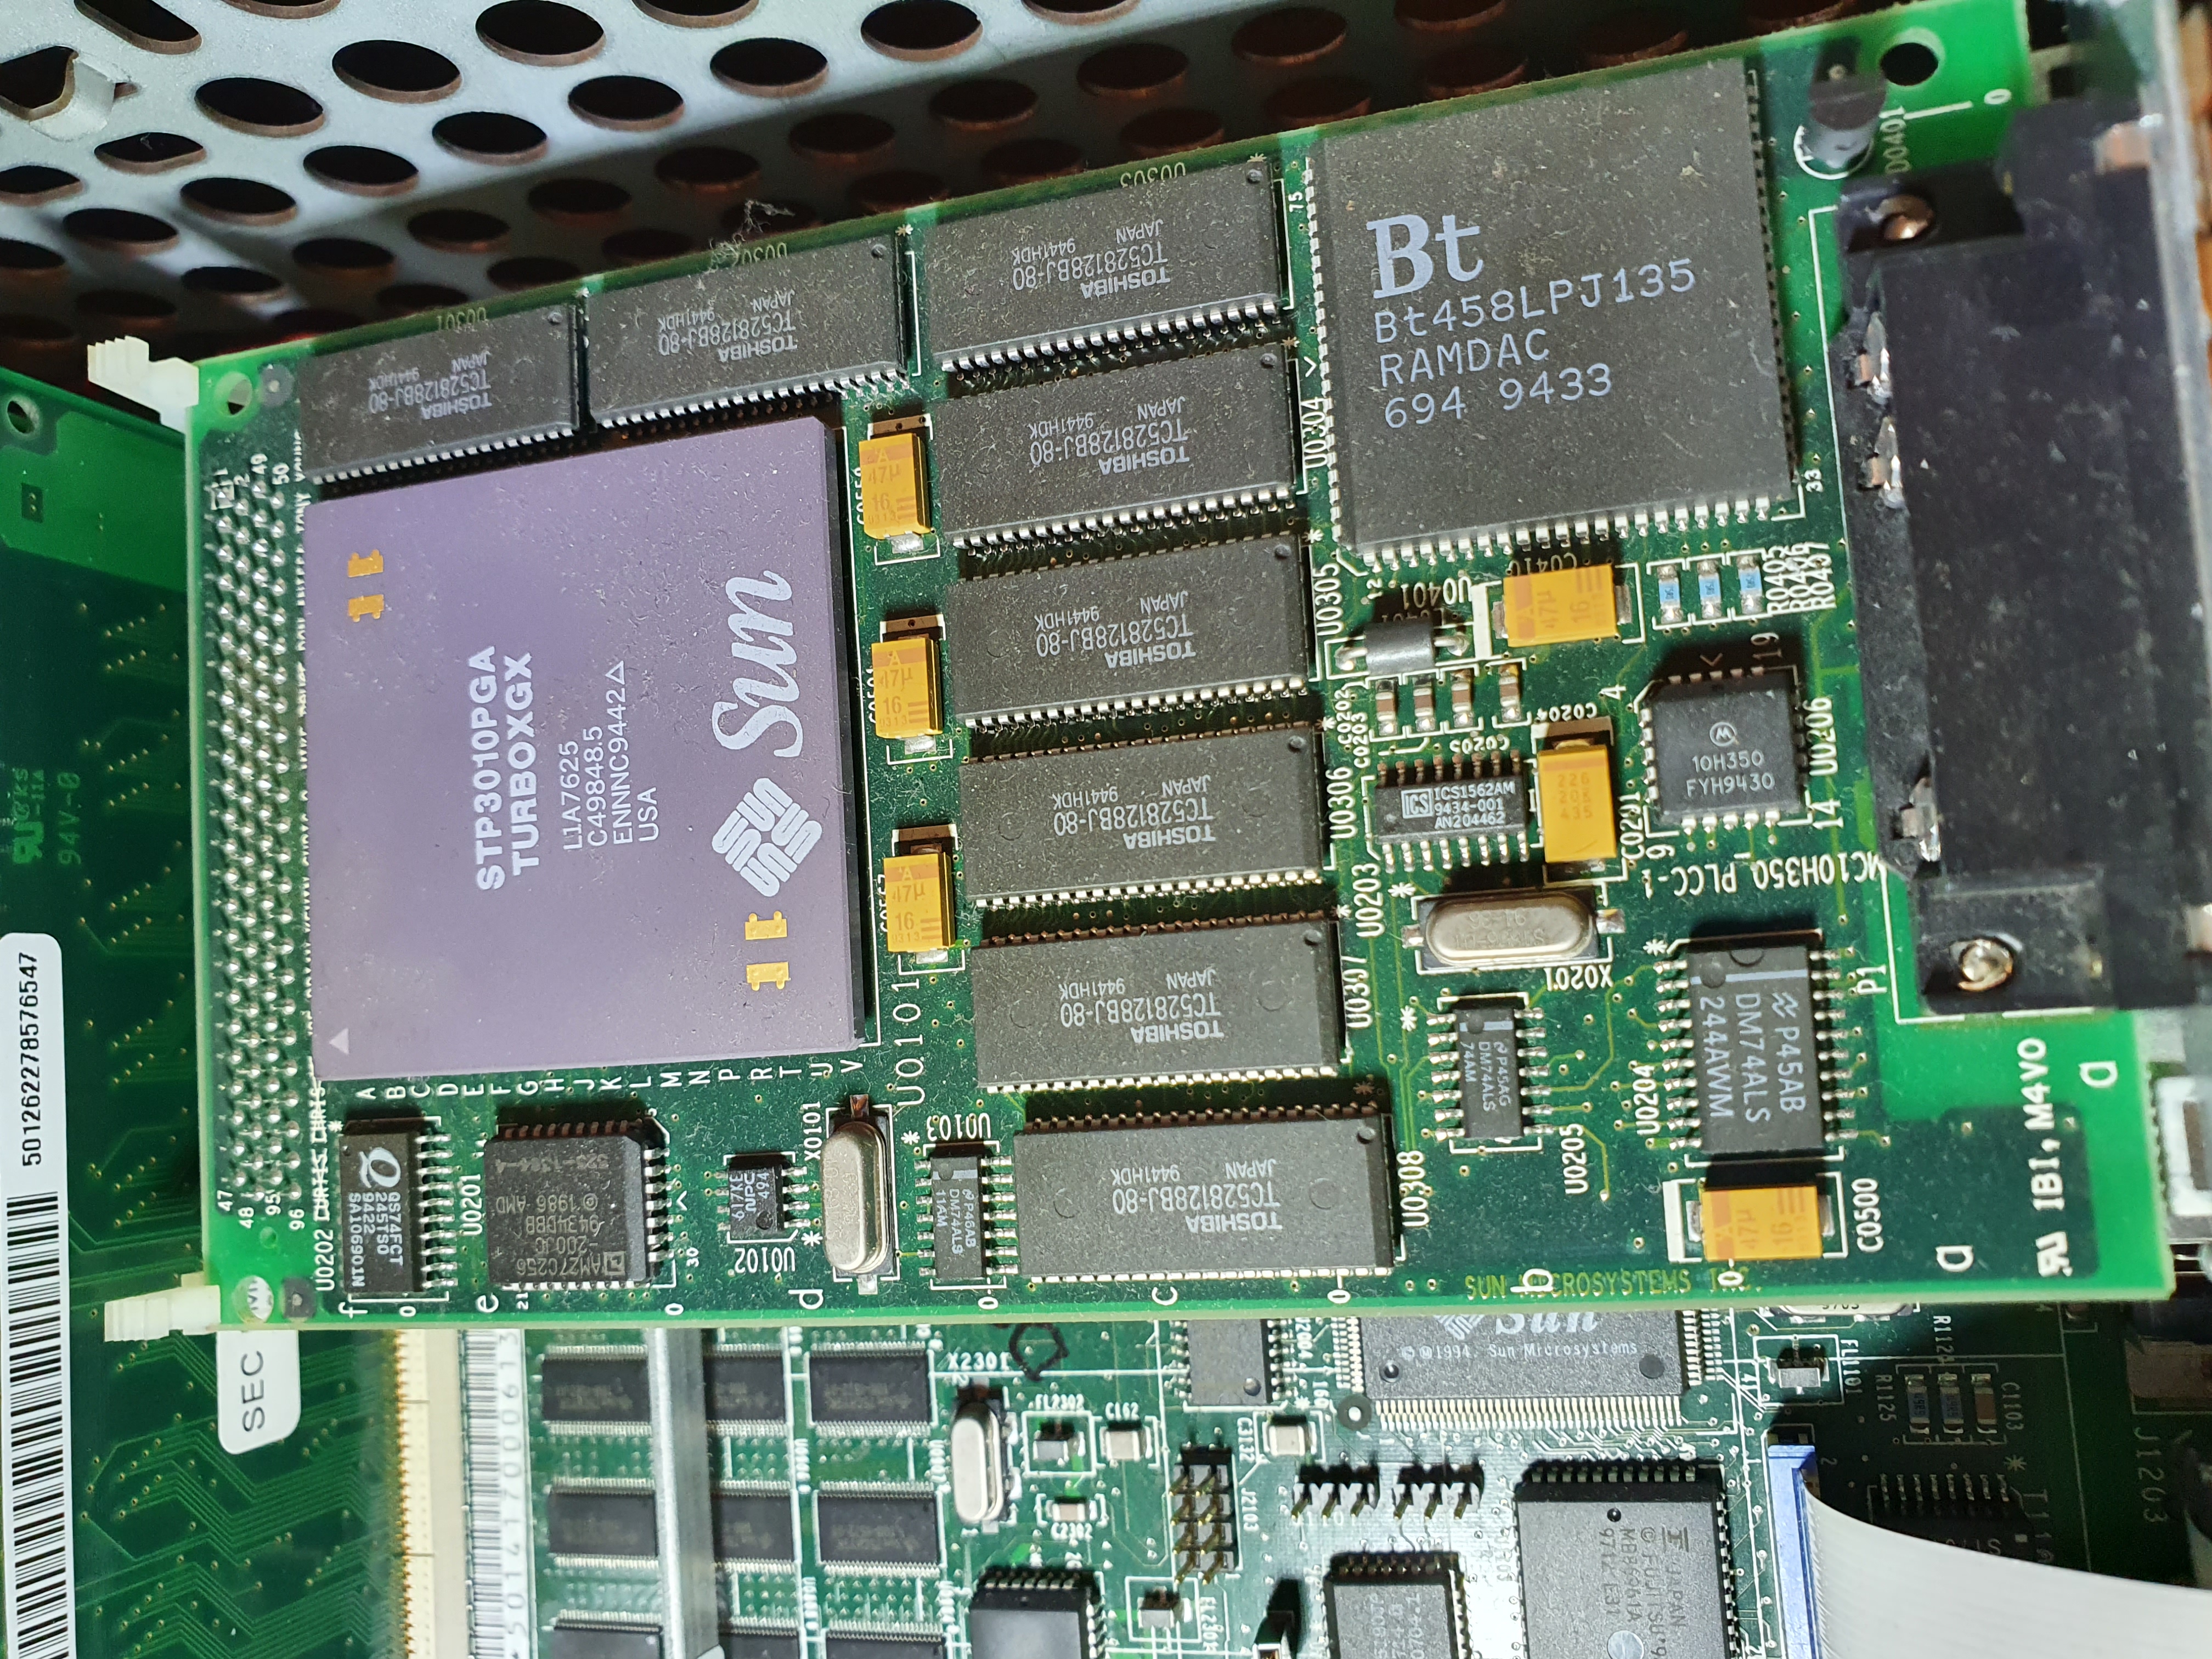
- Creator Framebuffer
- 21" Sun Microsystems CRT Monitor
According to Wikipedia this workstation is based off a 64-bit UltraSparc microprocessor. And back then (in November 1995) it was launched with the price of $27,995. Which is roughly $49,000 in todays money (adjusted for inflation). Ridiculous! I would really need to stretch the requirements to buy a workstation today for that kind of money.
Let’s have a look if we can get it running, what it can do, and (most importantly) can we take it on line?
Getting it up and running
I’ve got this beauty off eBay, here in Germany. From a lovely fellow named Marc. He offered me a great deal to get this machine, another Sun Sparc Server 20 (that is gonna be its own post), and the 21" CRT Monitor that is to be used with a Sun system. Oh yeah, and some keyboards and mice to go along with it. And it all fit into two “small” 35KG boxes to be delivered to me! I was super excited.
But then disaster struck. The “lovely” folks over at GLS, failed to take care of the package. And CRT monitor did not fair well in transport. 😢
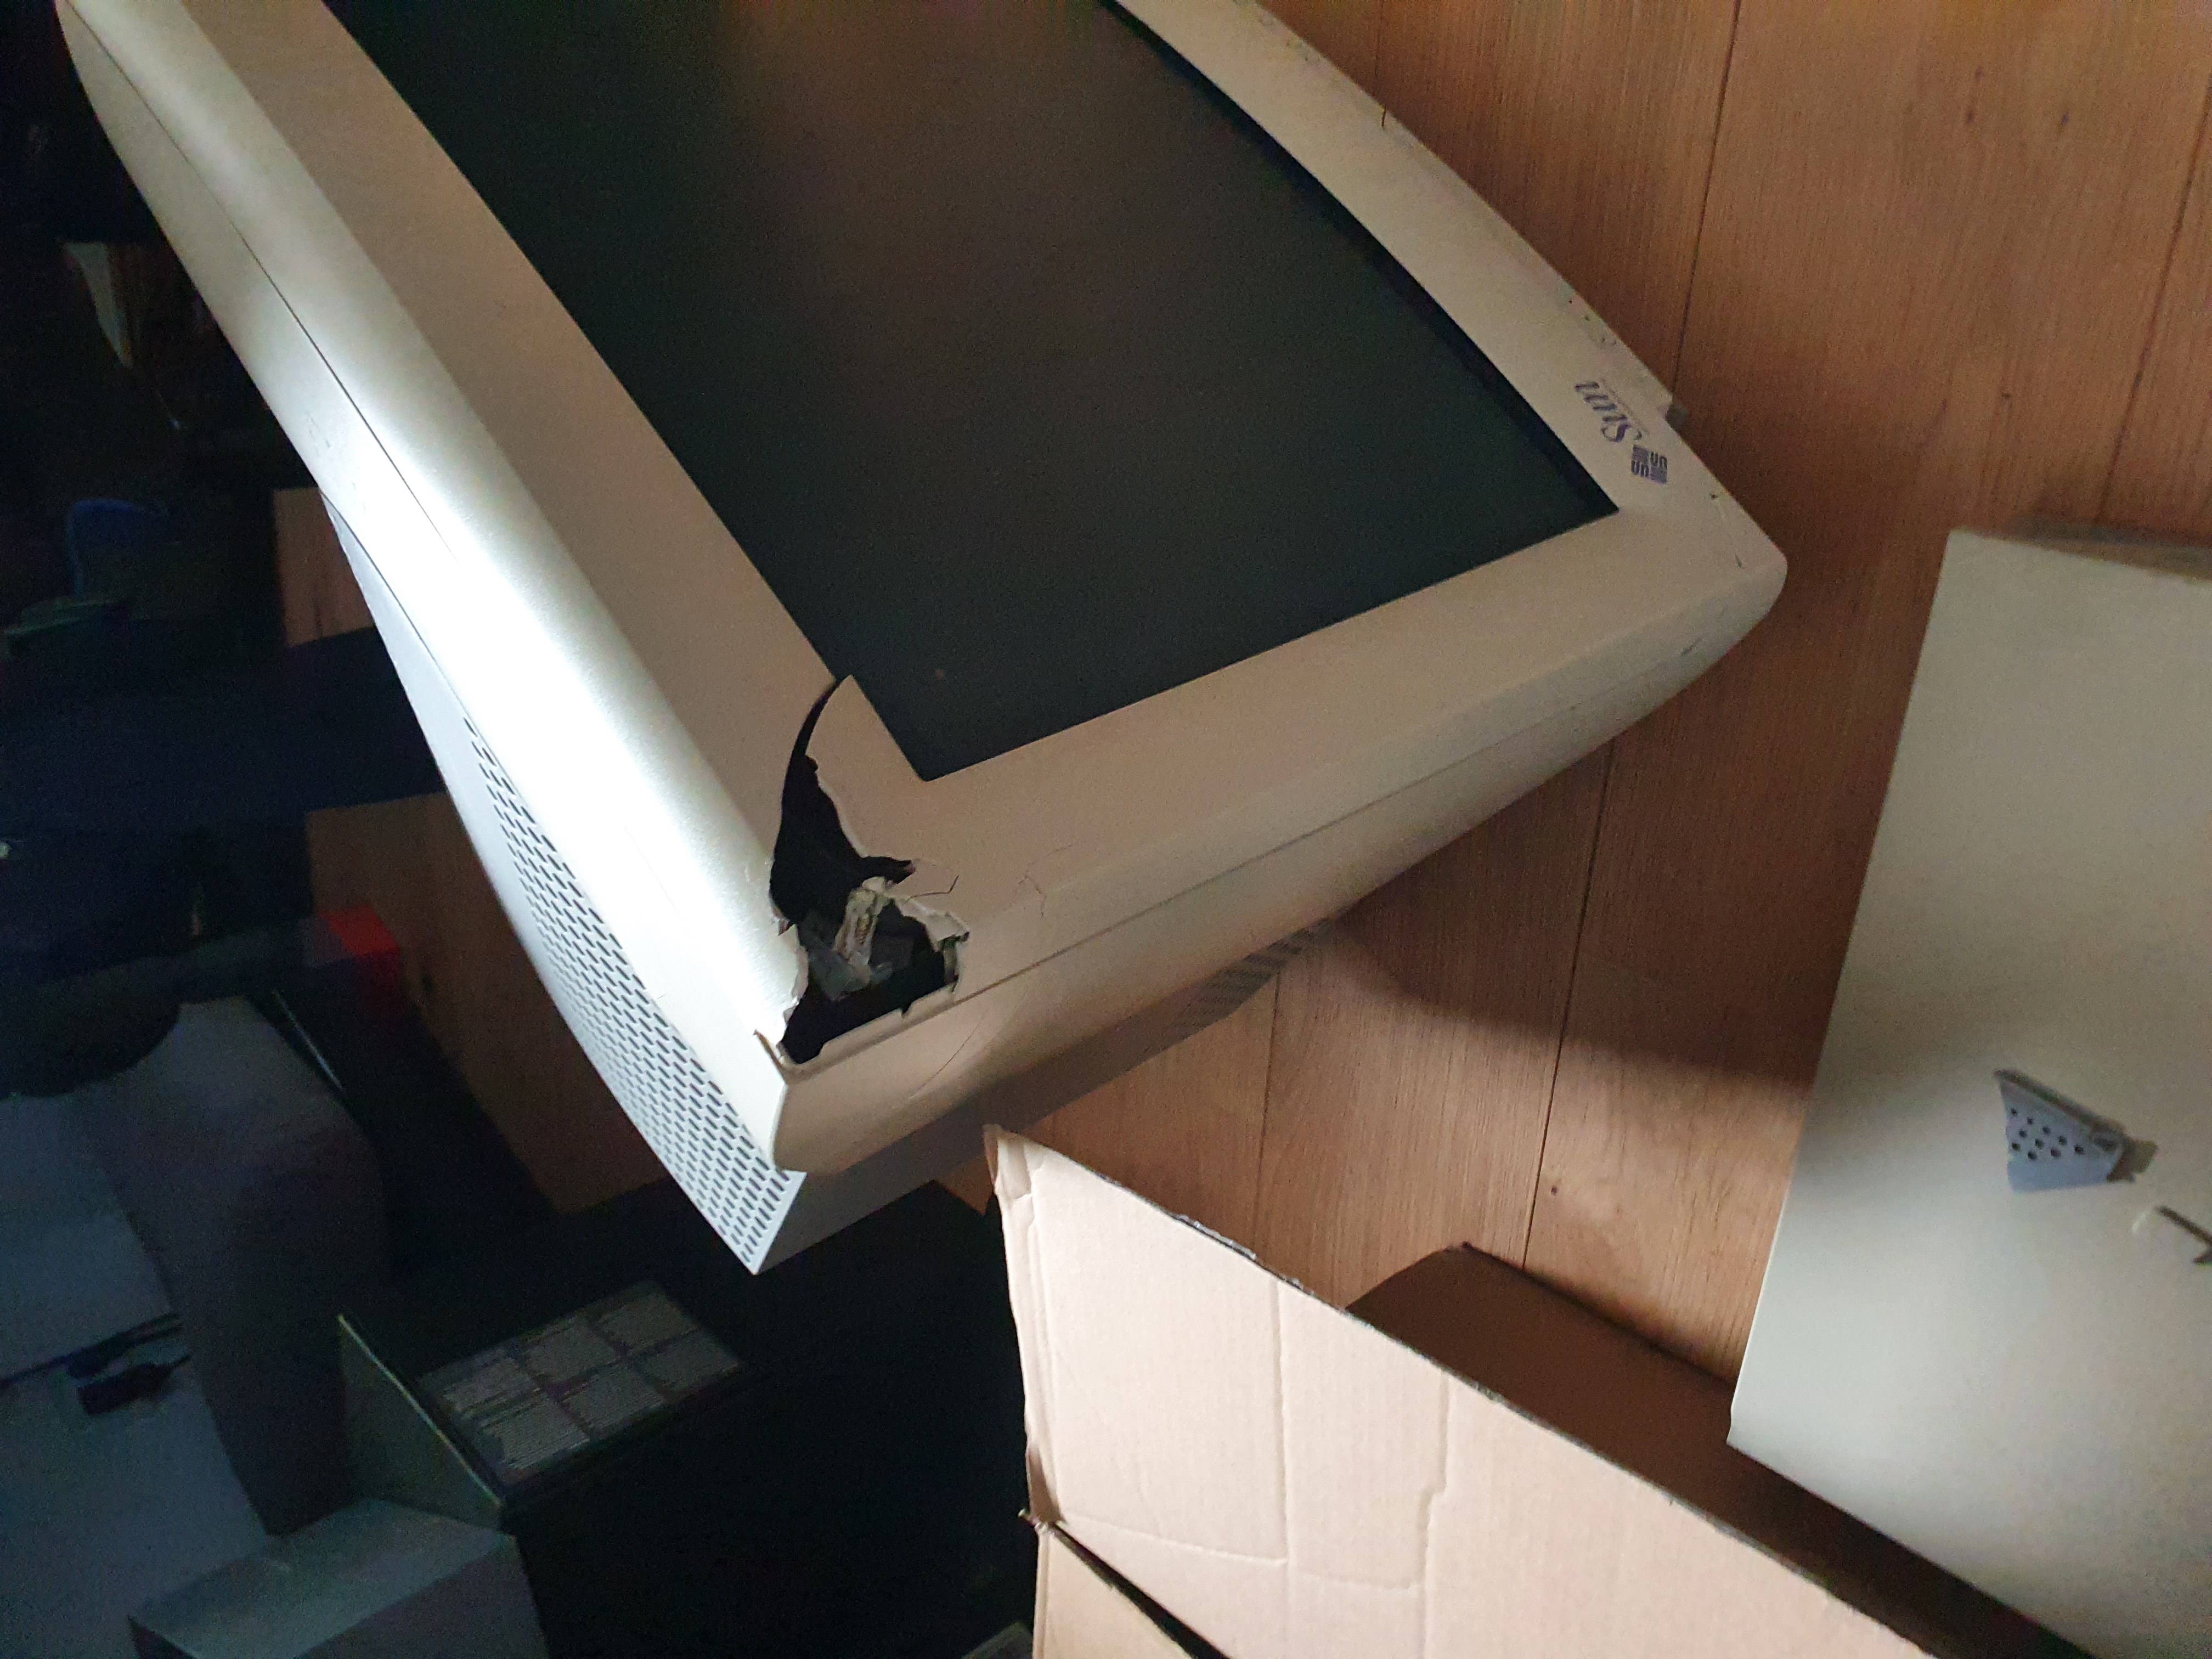
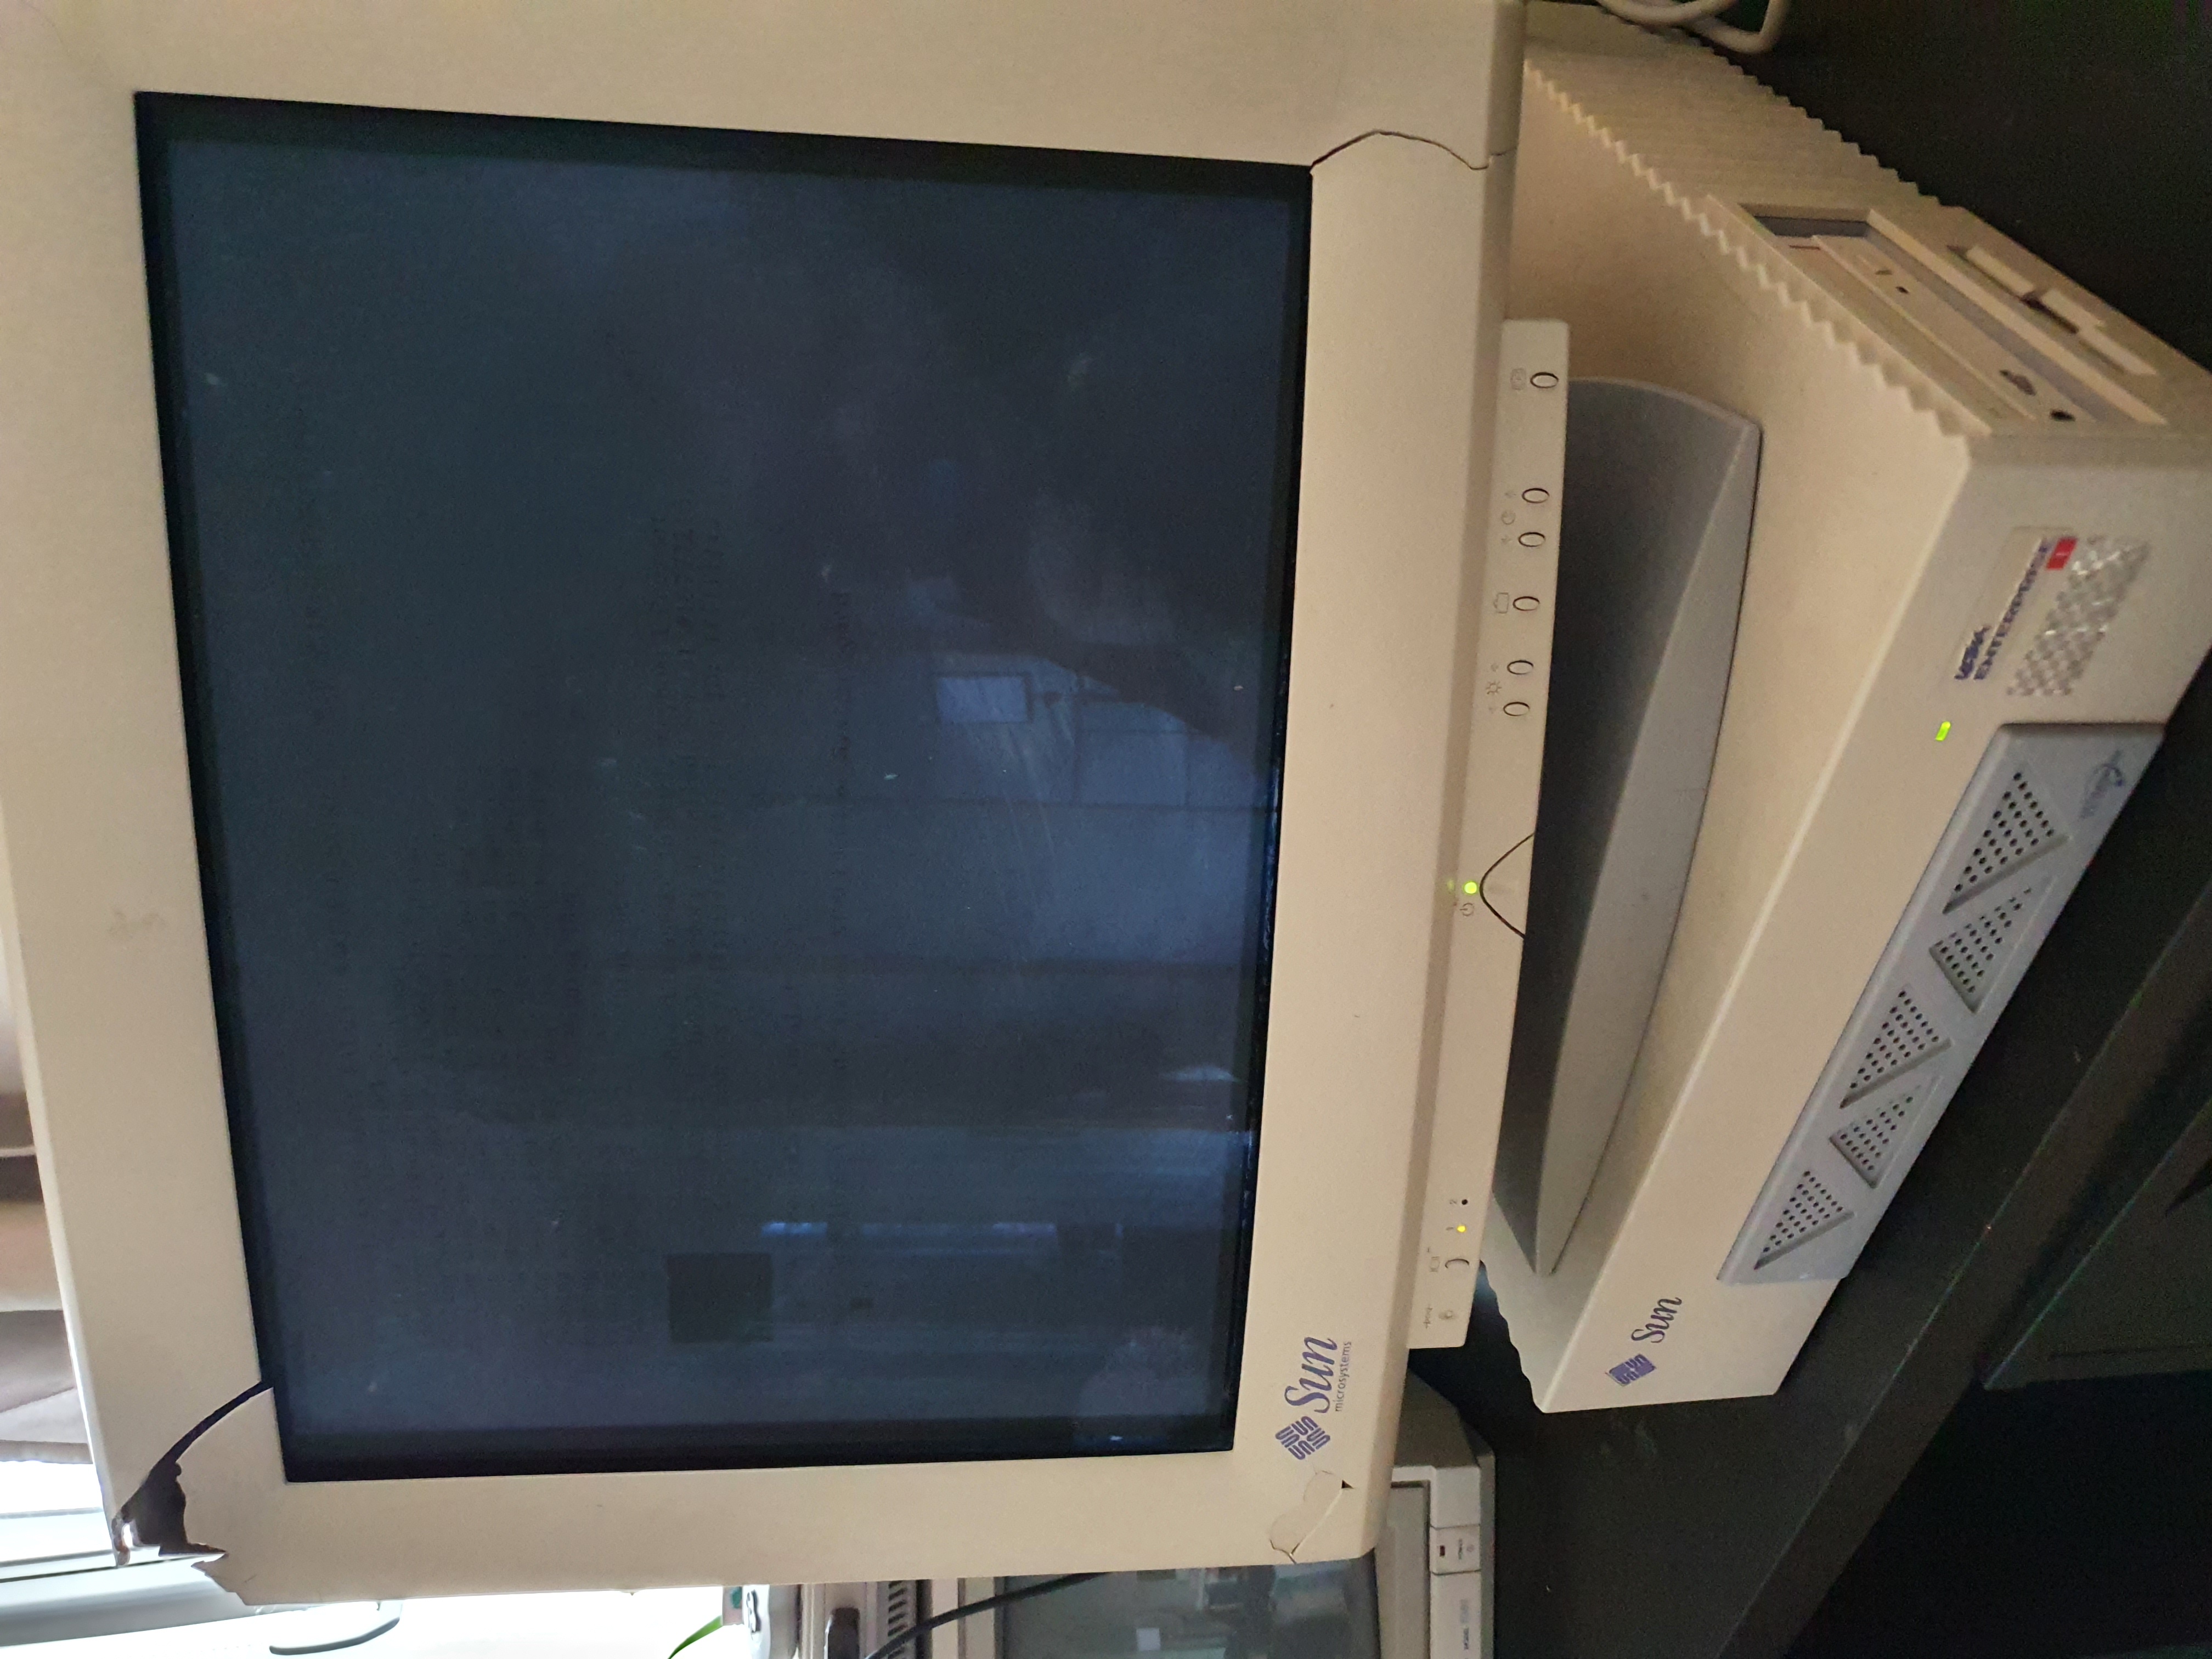
It still works fine, but it its a bit busted up! I have not figured out how I may go about fixing the plastic cracks (if that is even possible now), but at least the monitor works. And this is one BIG monitor. Kinda makes me appreciate that you can get 30" + screen sizes that are only a few kilograms in weight, as this “mere” 21" CRT is just massive.
Some other bits and pieces of the workstations got broken, but nothing serious. Nothing that a bit of super glue and some steady hands cannot fix.
Smoke test
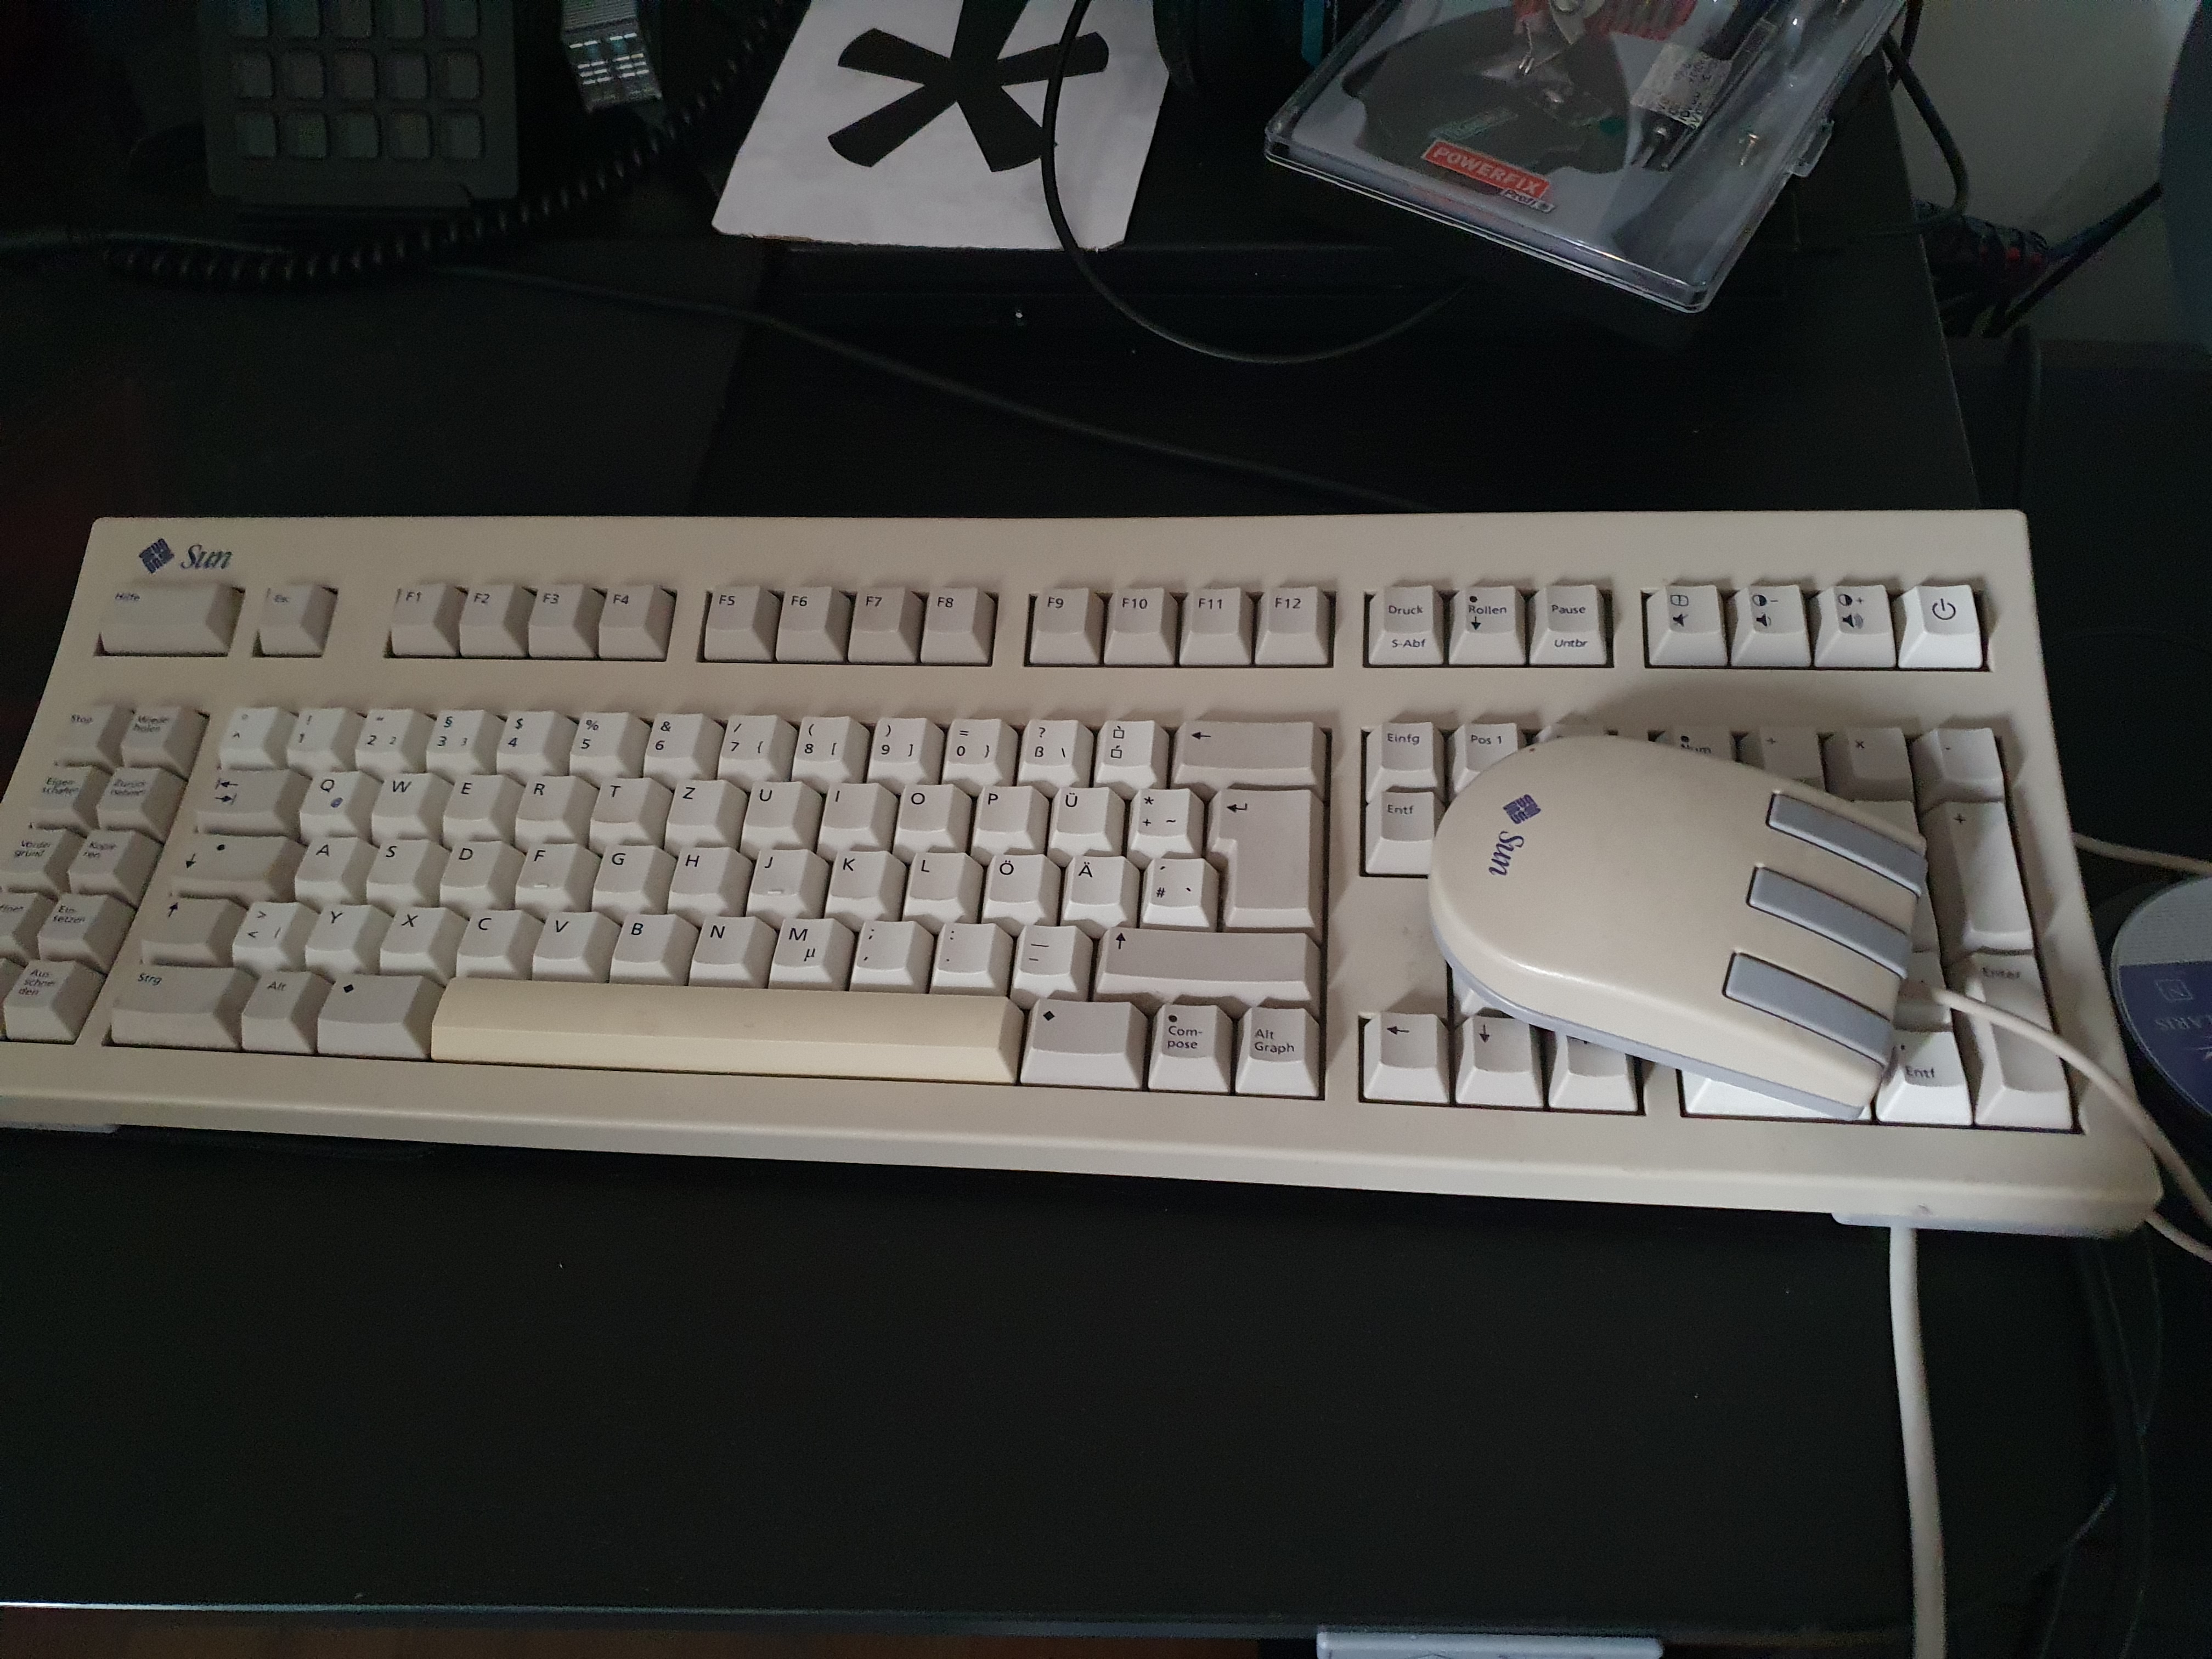
The moment of truth, it’s all hooked up, and ready to go. Now - how does one turn on this hunk of junk? There is no power button on the computer itself, at least nothing besides the power switch on the back of the power supply. 🤔
HEY!
It’s on the keyboard! And here I was thinking this was just another simple PS/2 keyboard and mouse (it’s not).
I hear a satisfying beep, and … Nothing. Well at least not for the next 45 seconds. Then all of a sudden, the screen lights up in bright white. Okay, and yes we have some text on screen. This is starting to look good.
A side note: The screen looks amazing, I was blow away with the crispness of the 1280x1024 resolution on this monitor. I really wish it was just a bit smaller.
Okay - first boot is here. But no operating system, and it seems I have some errors:
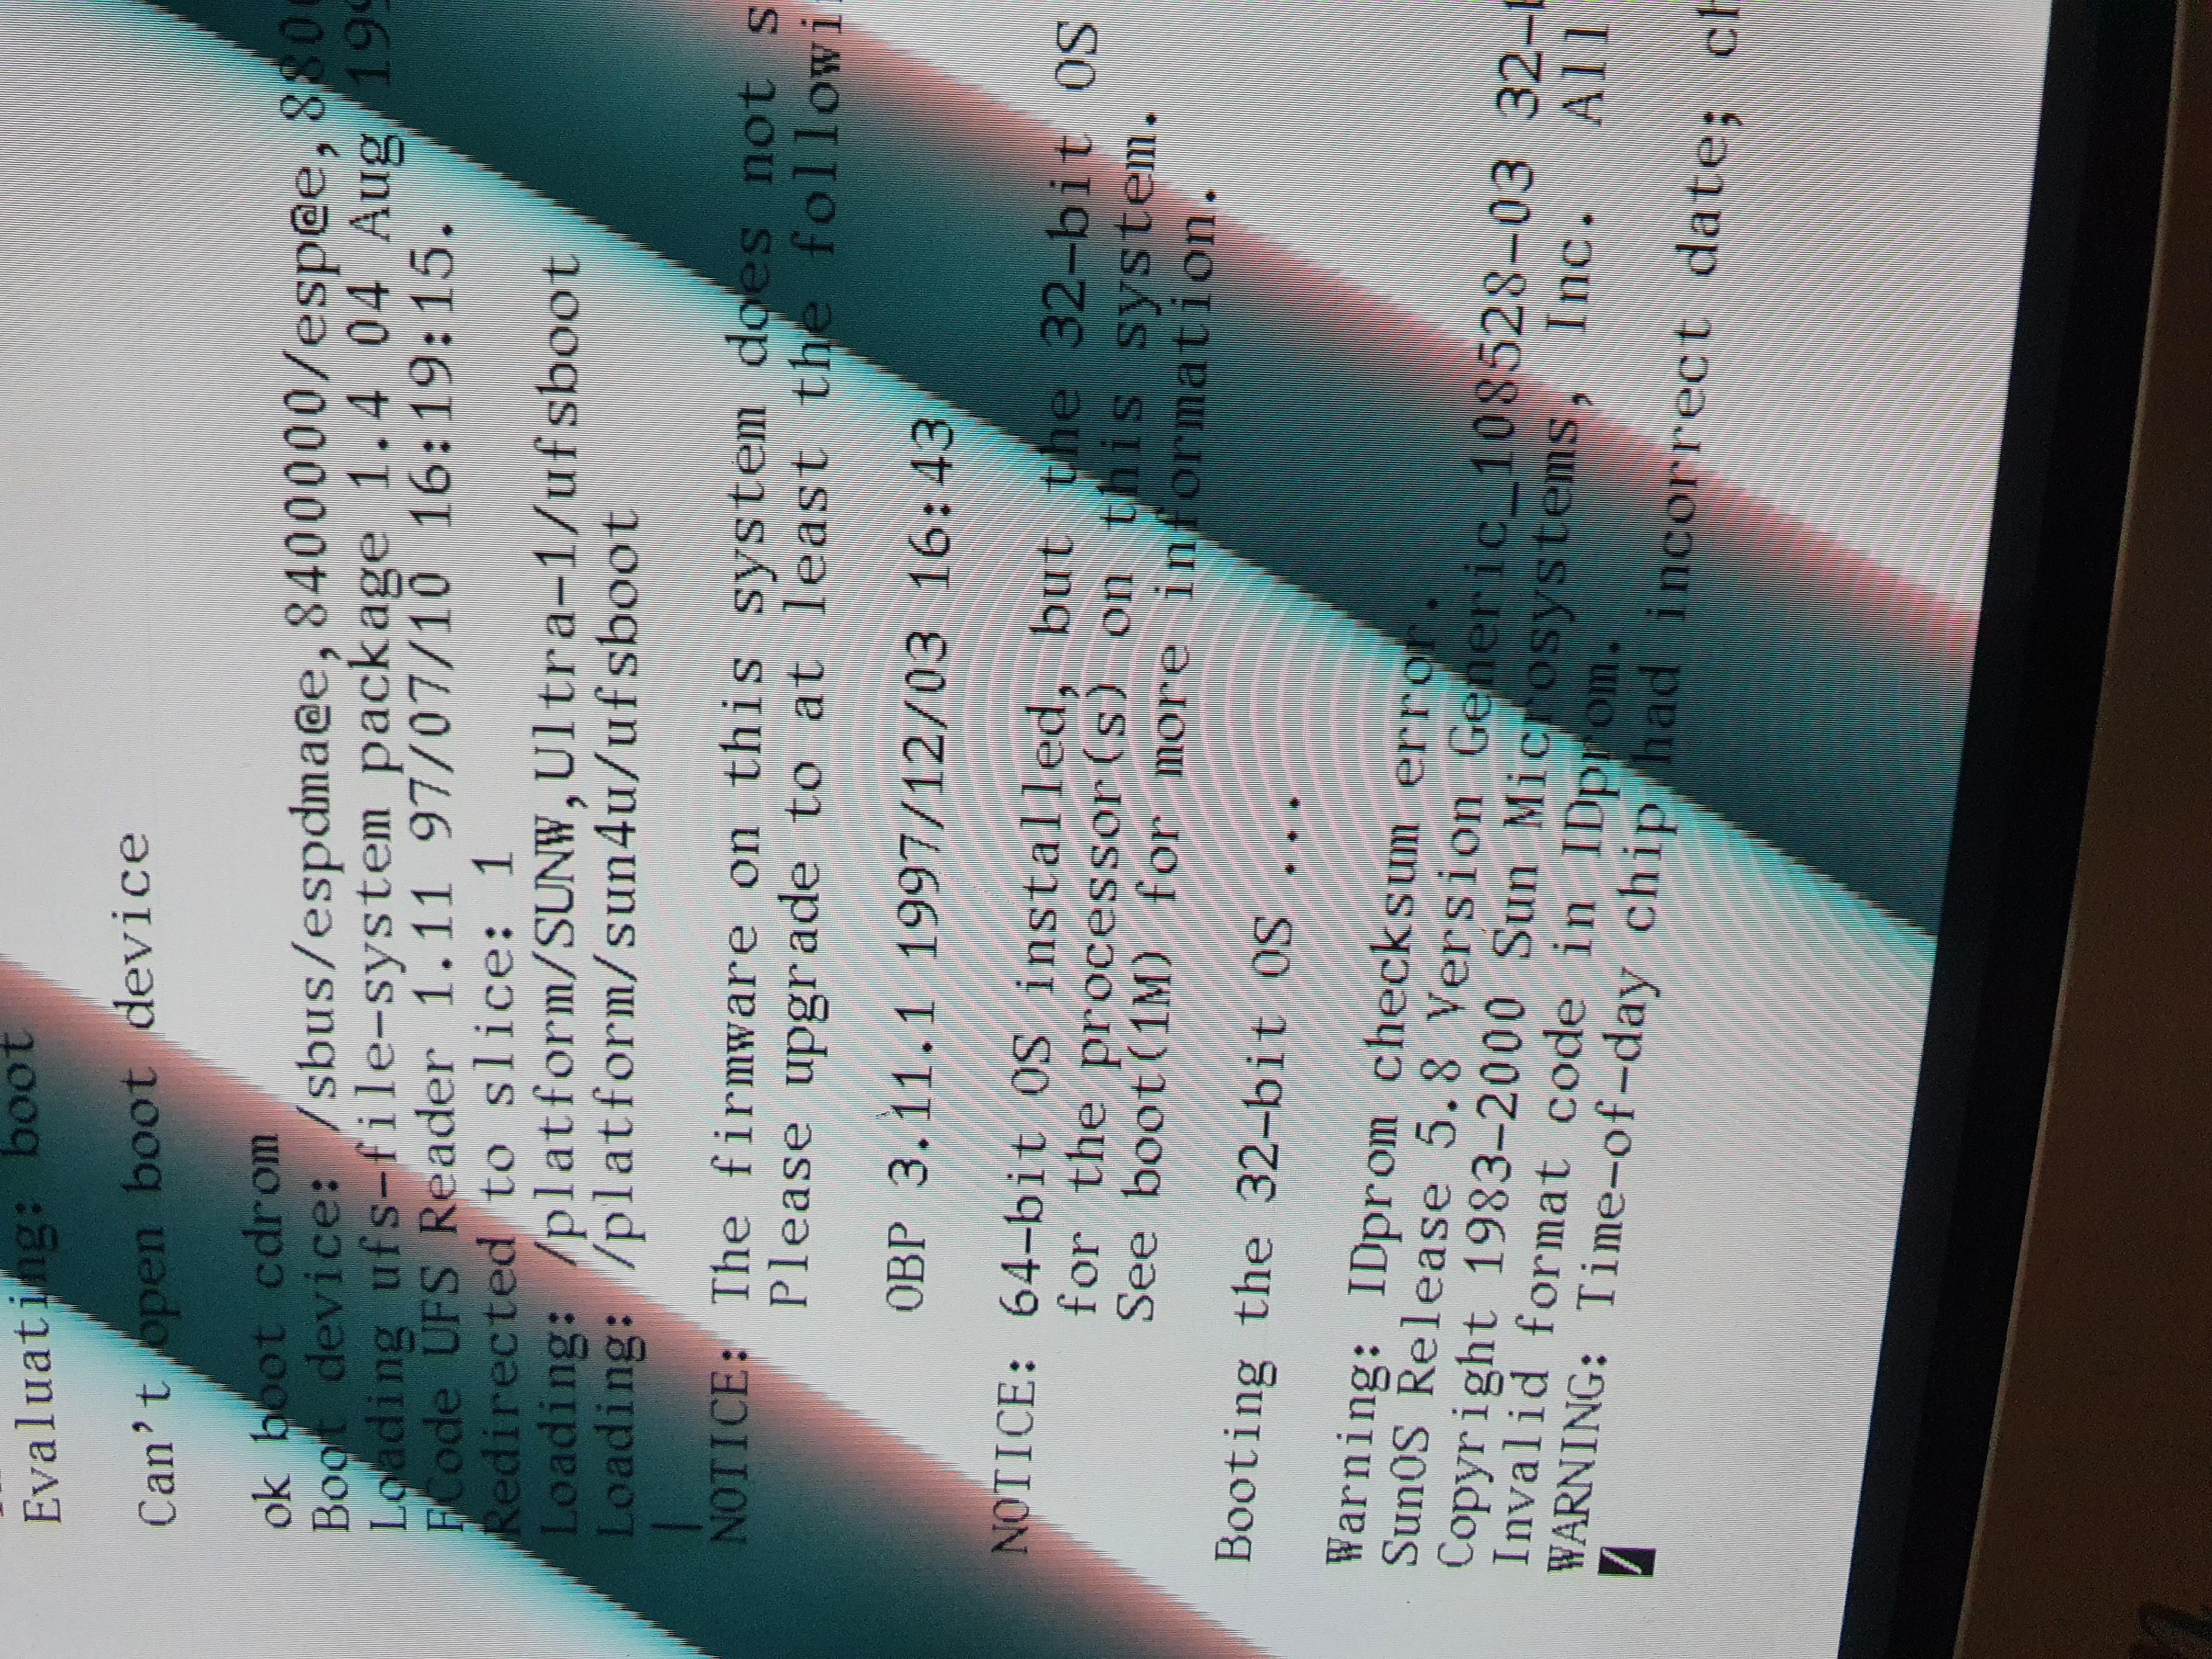
Hmmm: The IDPROM Contents are invalid. What does that mean? After a
quick search it seems like the on board battery is dead. But I am sure I can
easily fix this. Right? Well … I will get into that a bit later on.
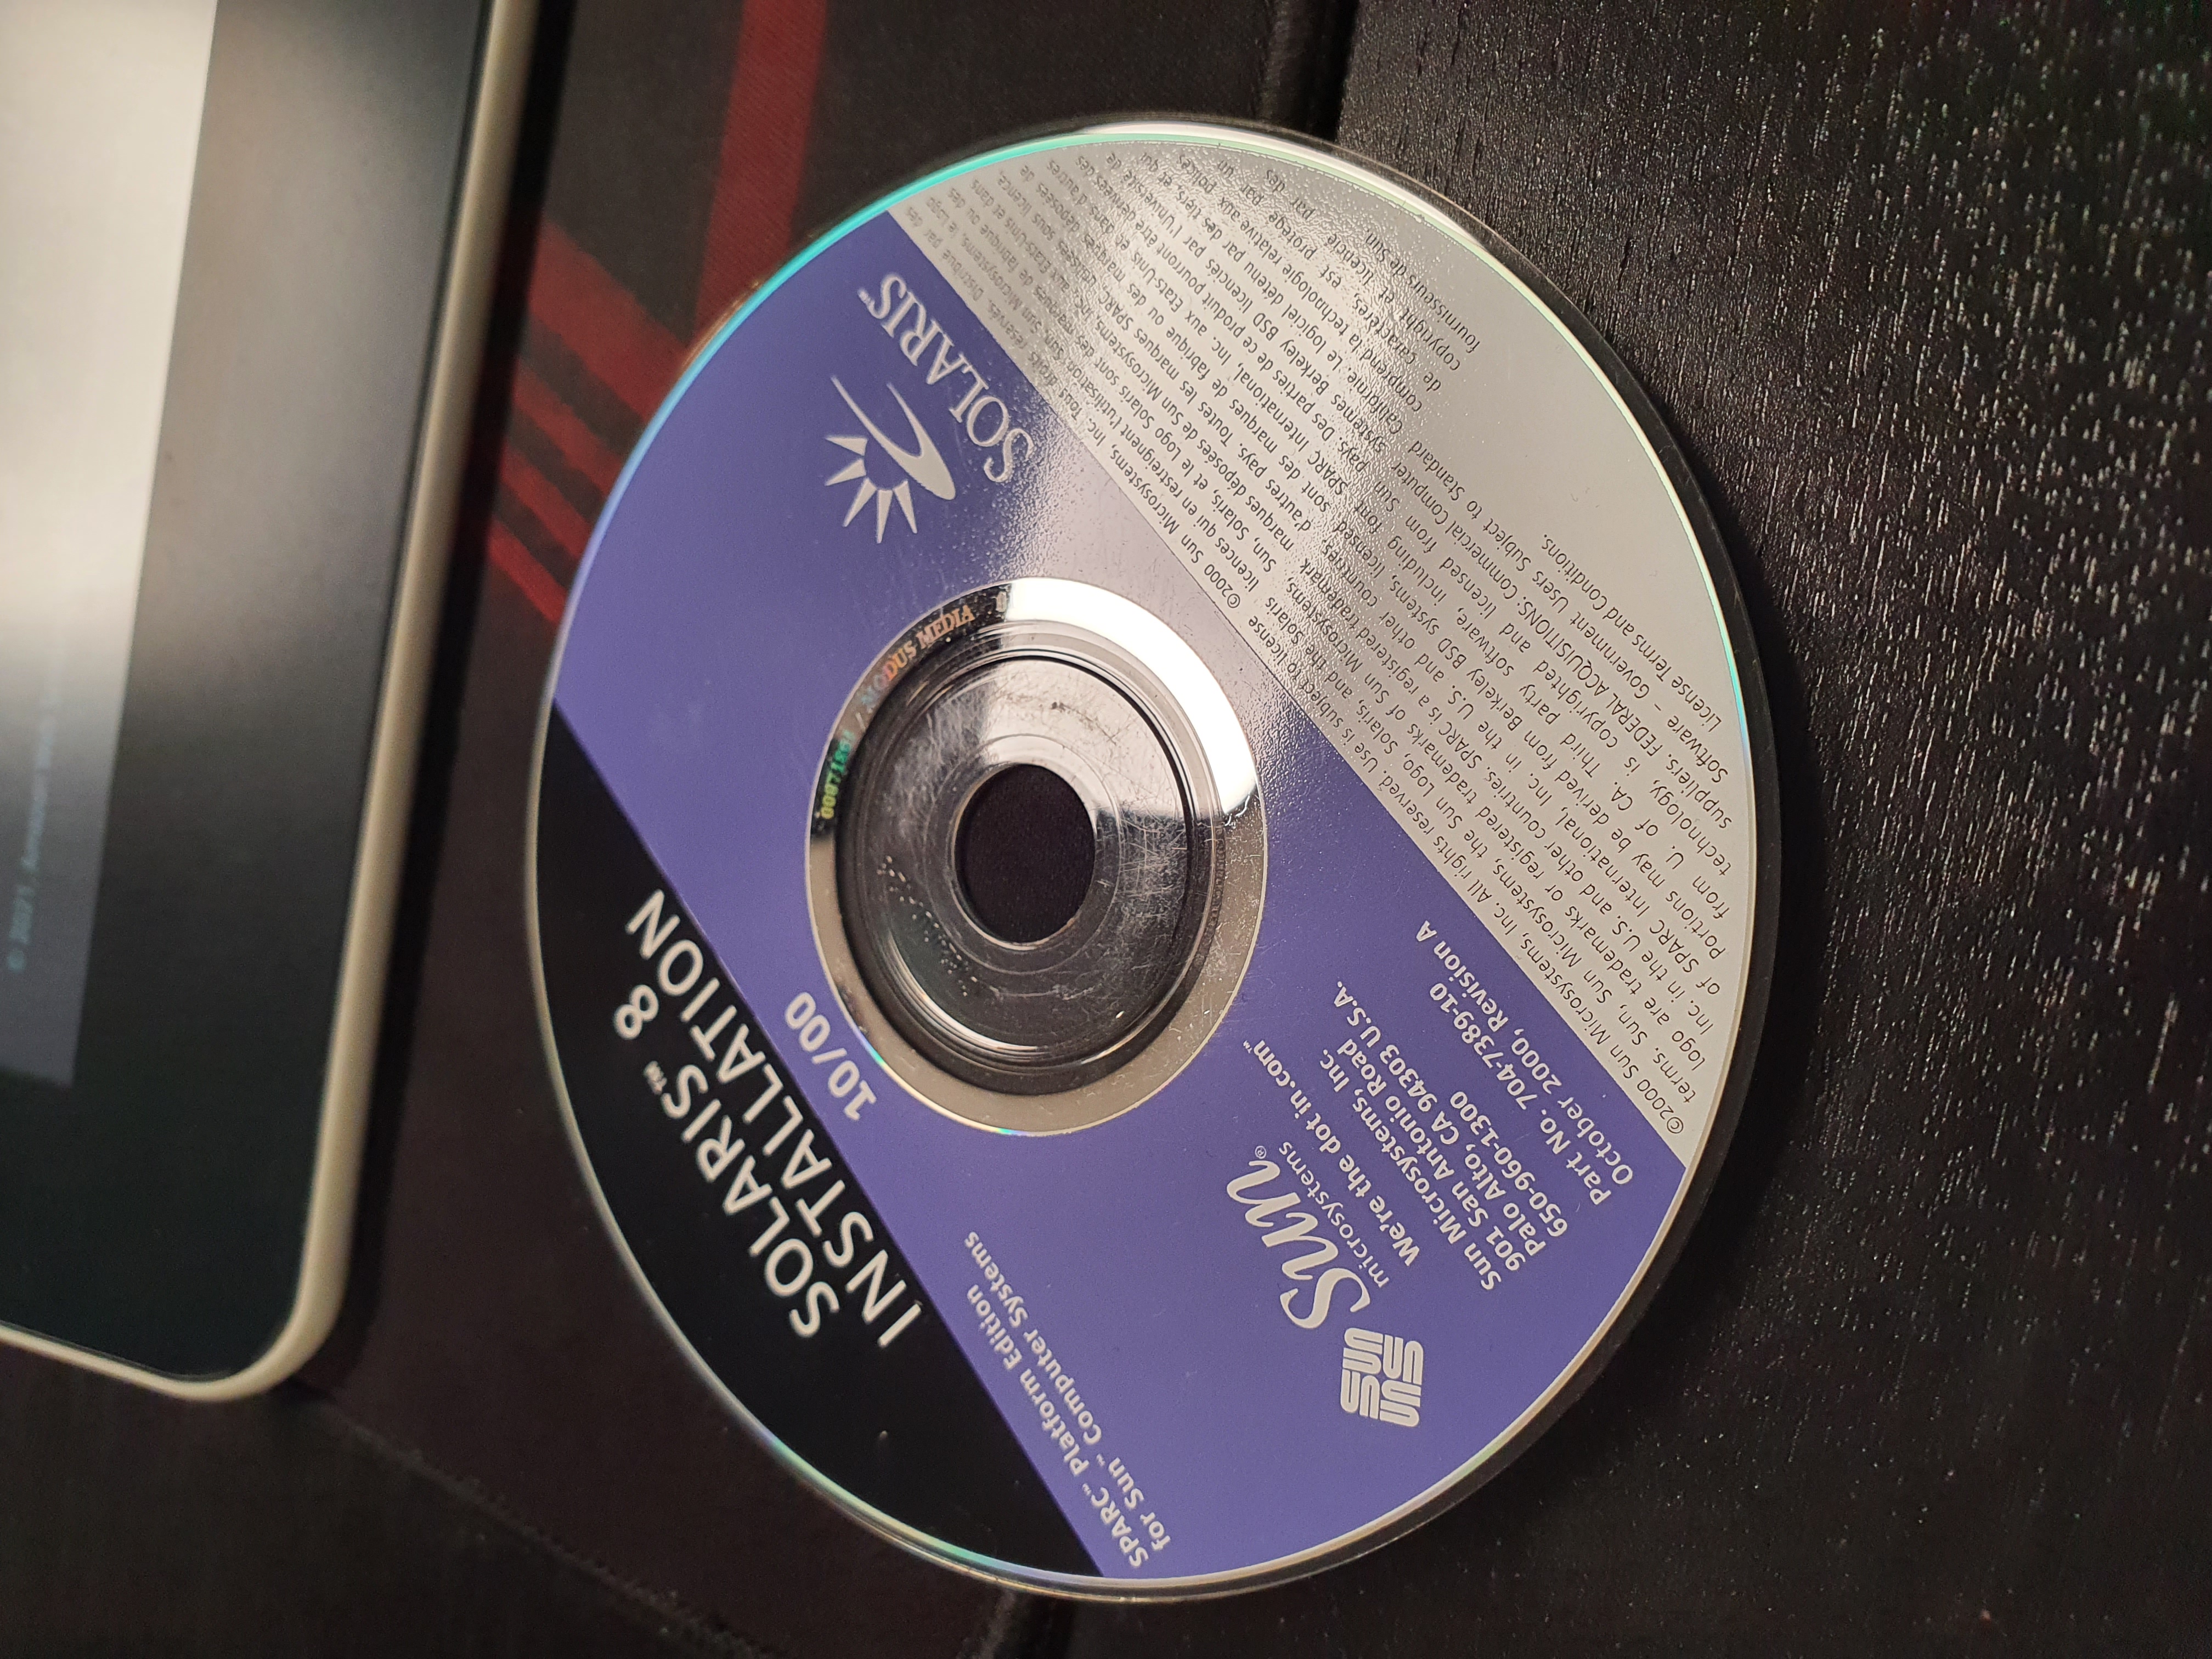
But why wont it boot? It seems like it is unable to find an operating system. Lucky for me I have all the CD-ROMs right here, so I can just go ahead and re-install Solaris 8 on this bad boy! Time to see what the 2x CD-ROM drive is made of.
Installing Solaris 8
I’ve spent the first part of my career as being that kid that reinstalls your Windows. It usually meant that I dealt with either Windows XP or 2000 (sometimes 98SE). That was a standard affair, and it took around 30 minutes to get the operating system onto the machine… With 52x CD-ROM drives.
How long does it take to install an OS off two CD-ROMs (around 1.5 GB in total) with a 2x CD-ROM drive? A LOT! I am not really sure, but I think the entire installation process took at least 2 hours, and it may have been even more. But here we are. A fresh install.
I’ve struggled with the disk size, as the SCSI HDD here is only 2.4GB in Size, it barely fit all the stuff in the installation. I had to get rid of some of the documentation so it would fit onto the disk.
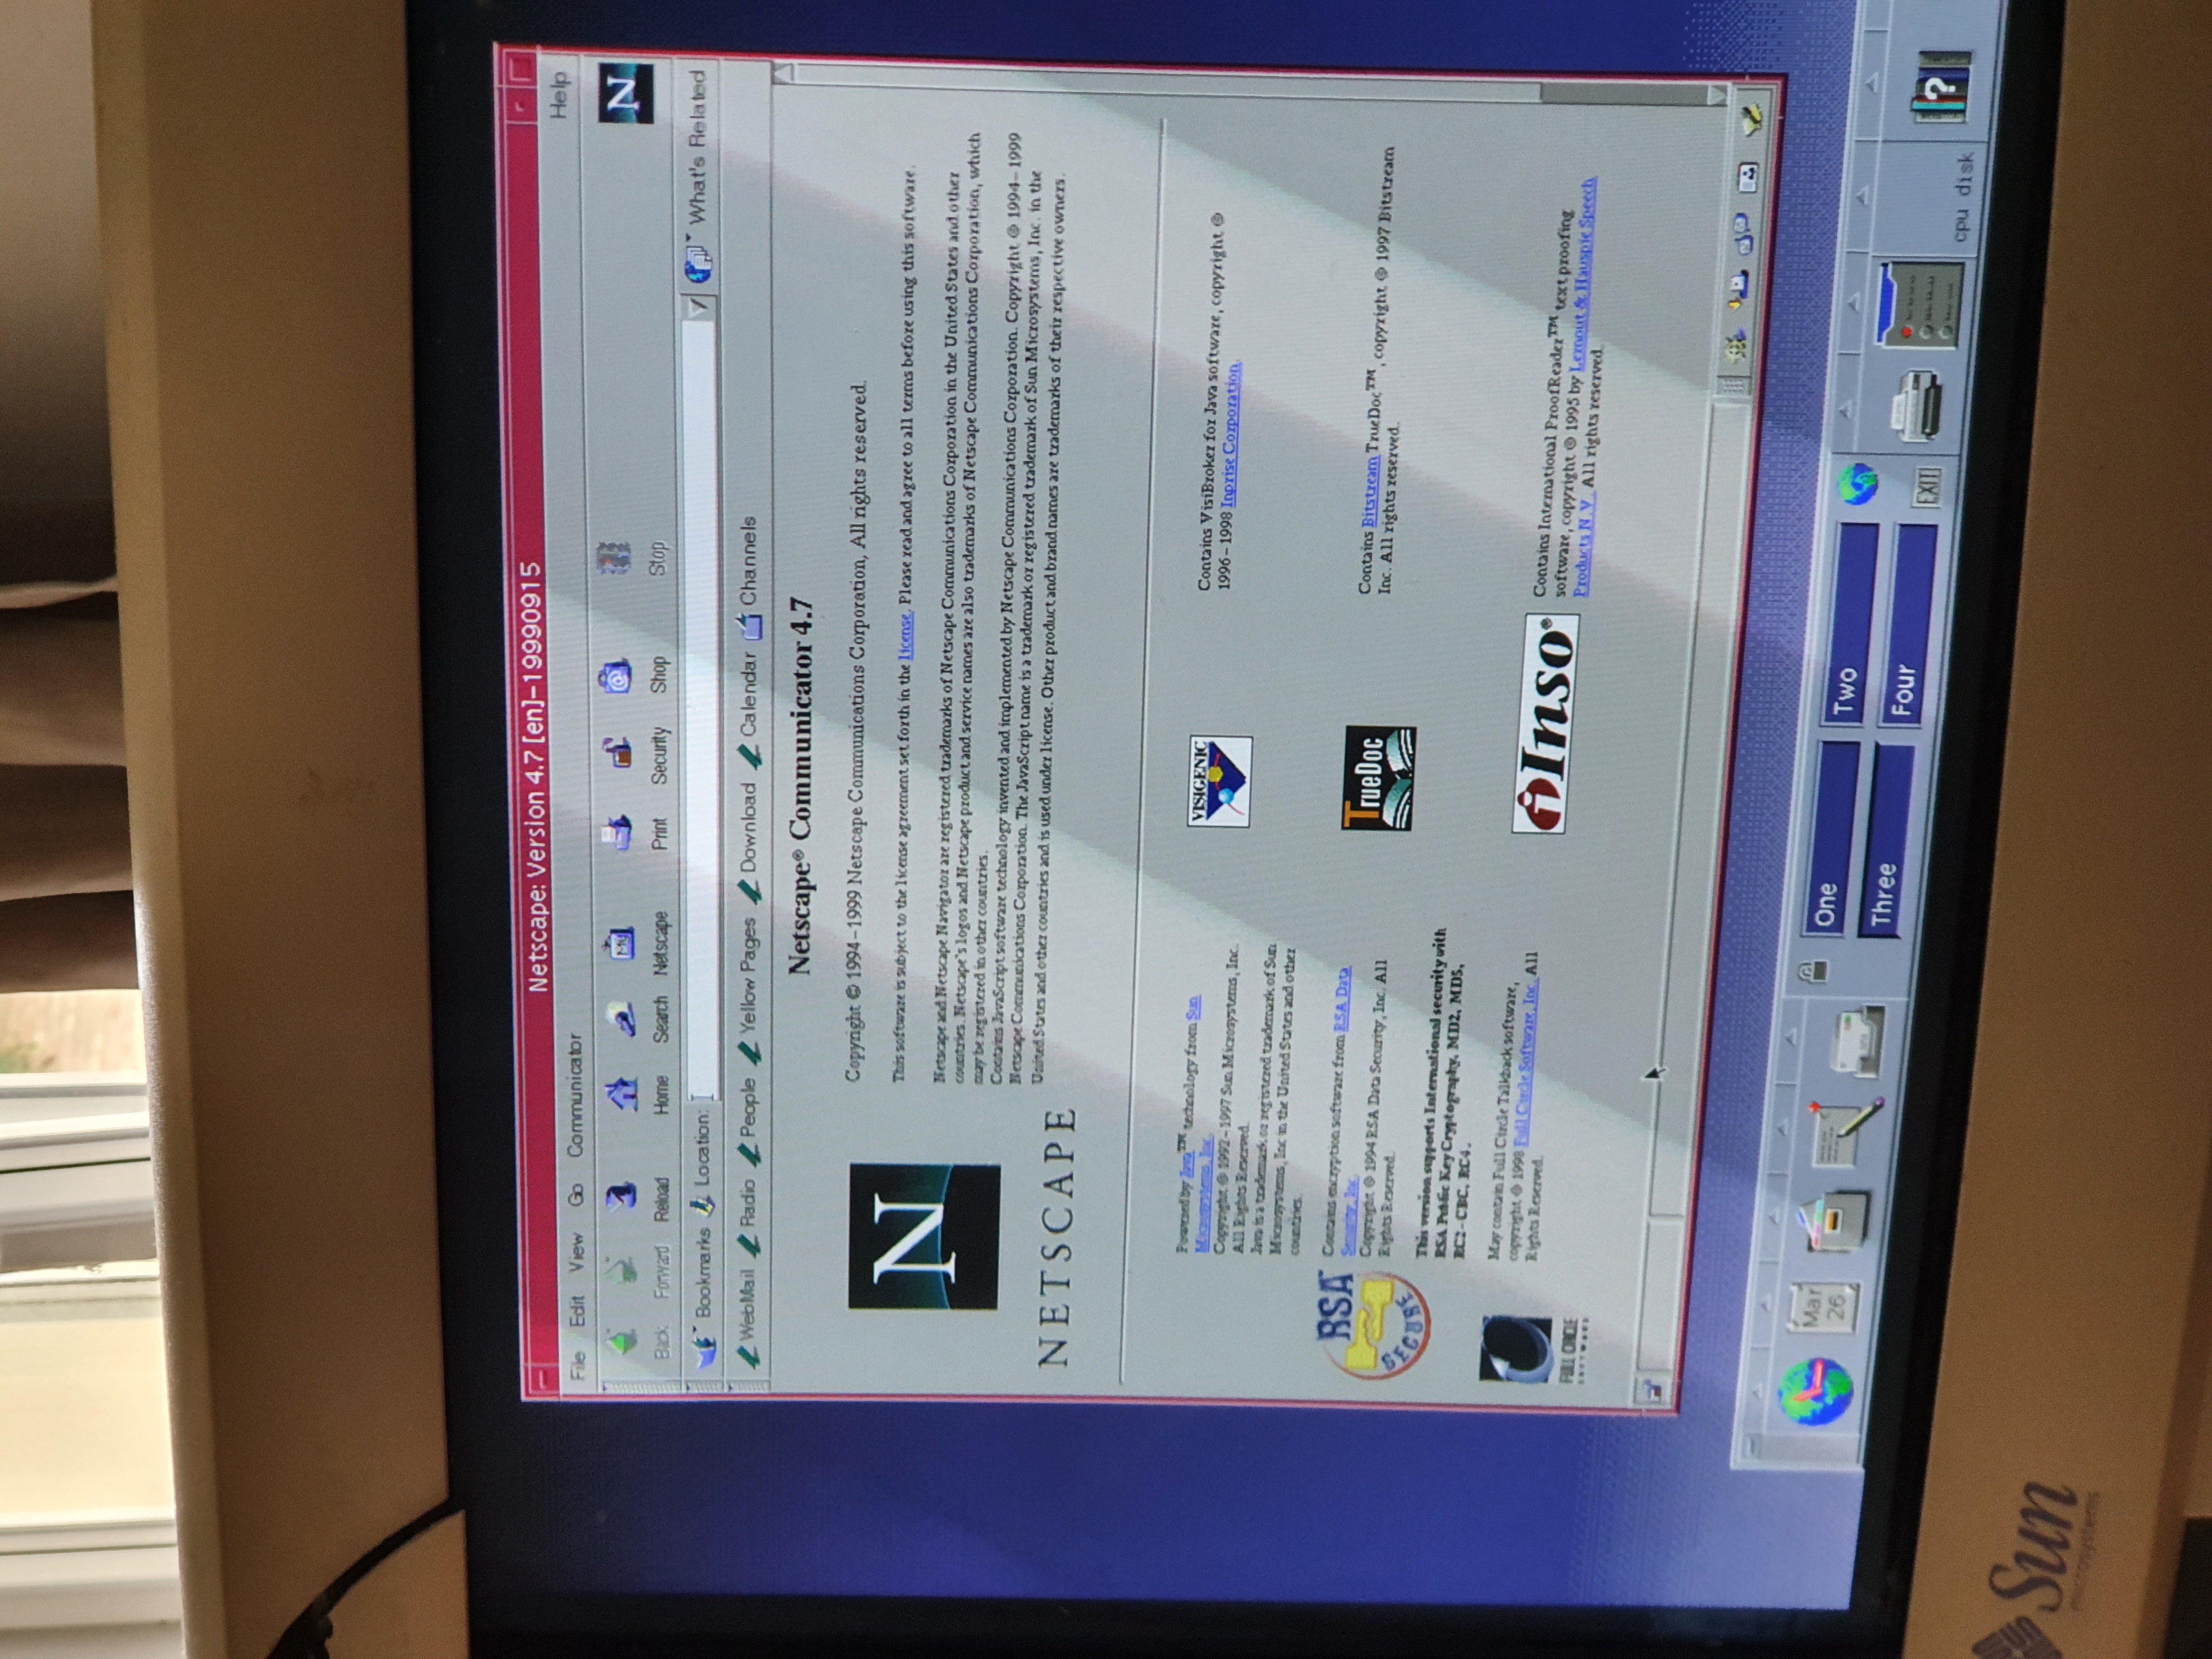
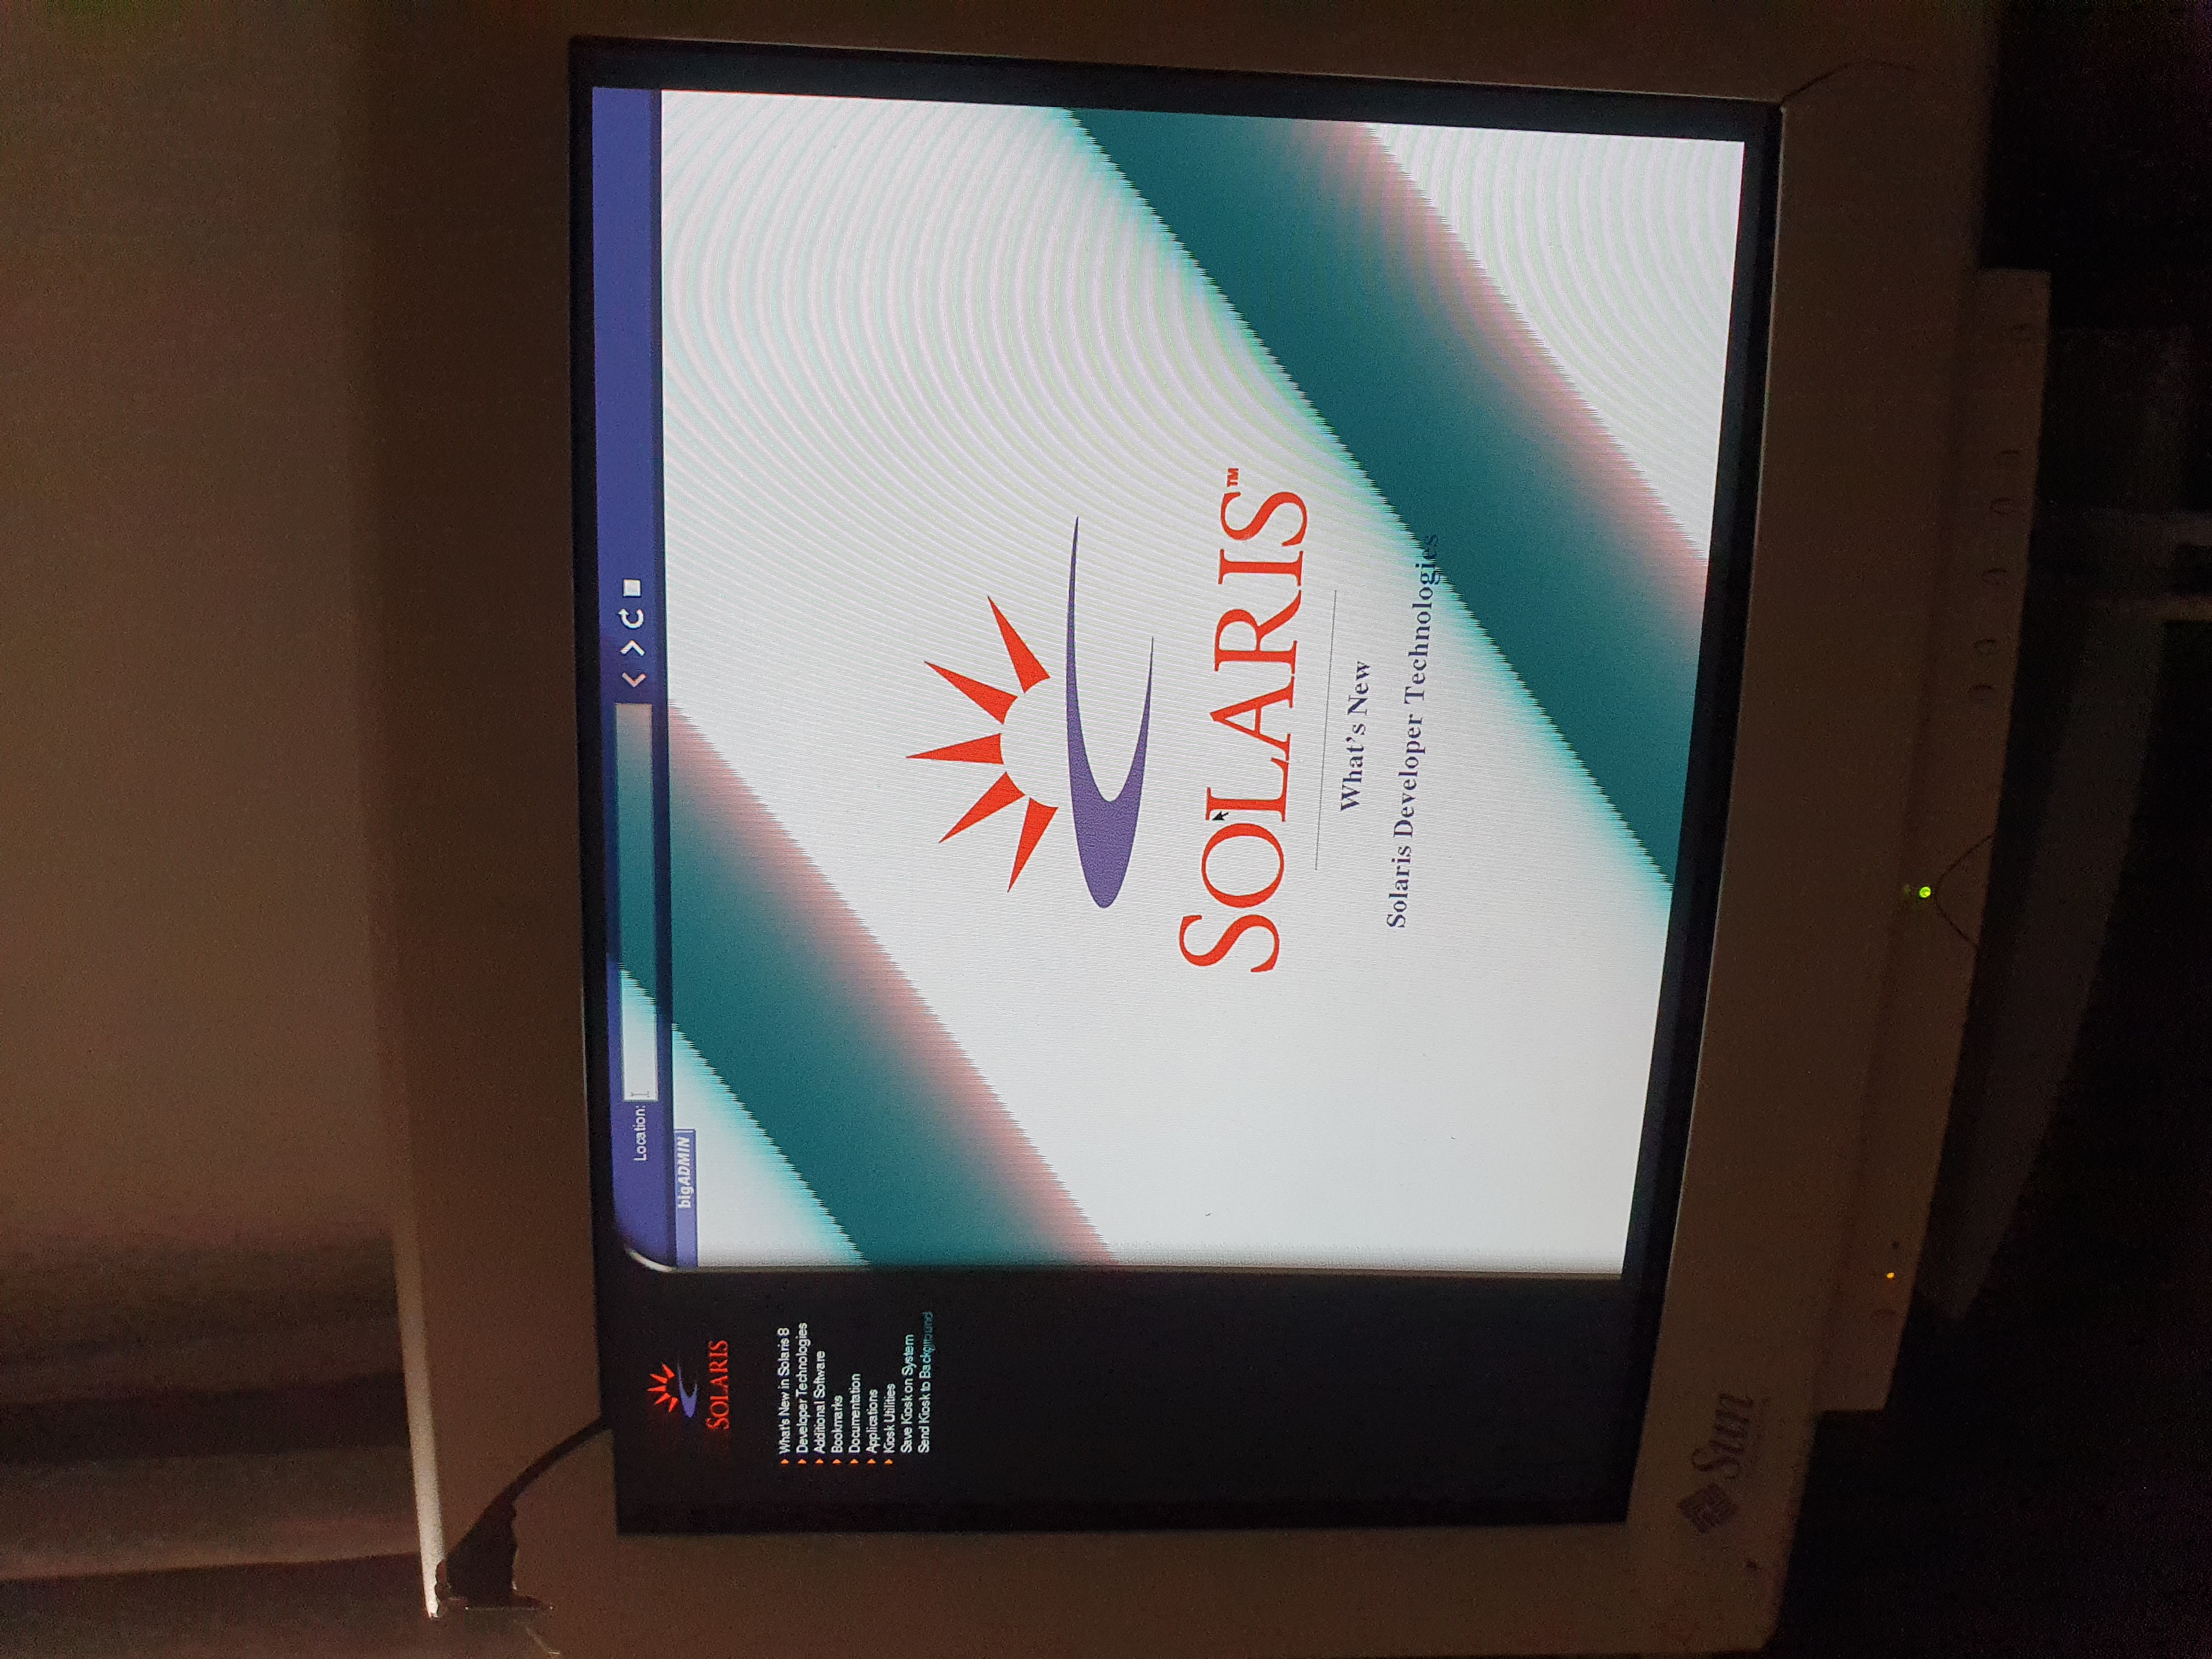
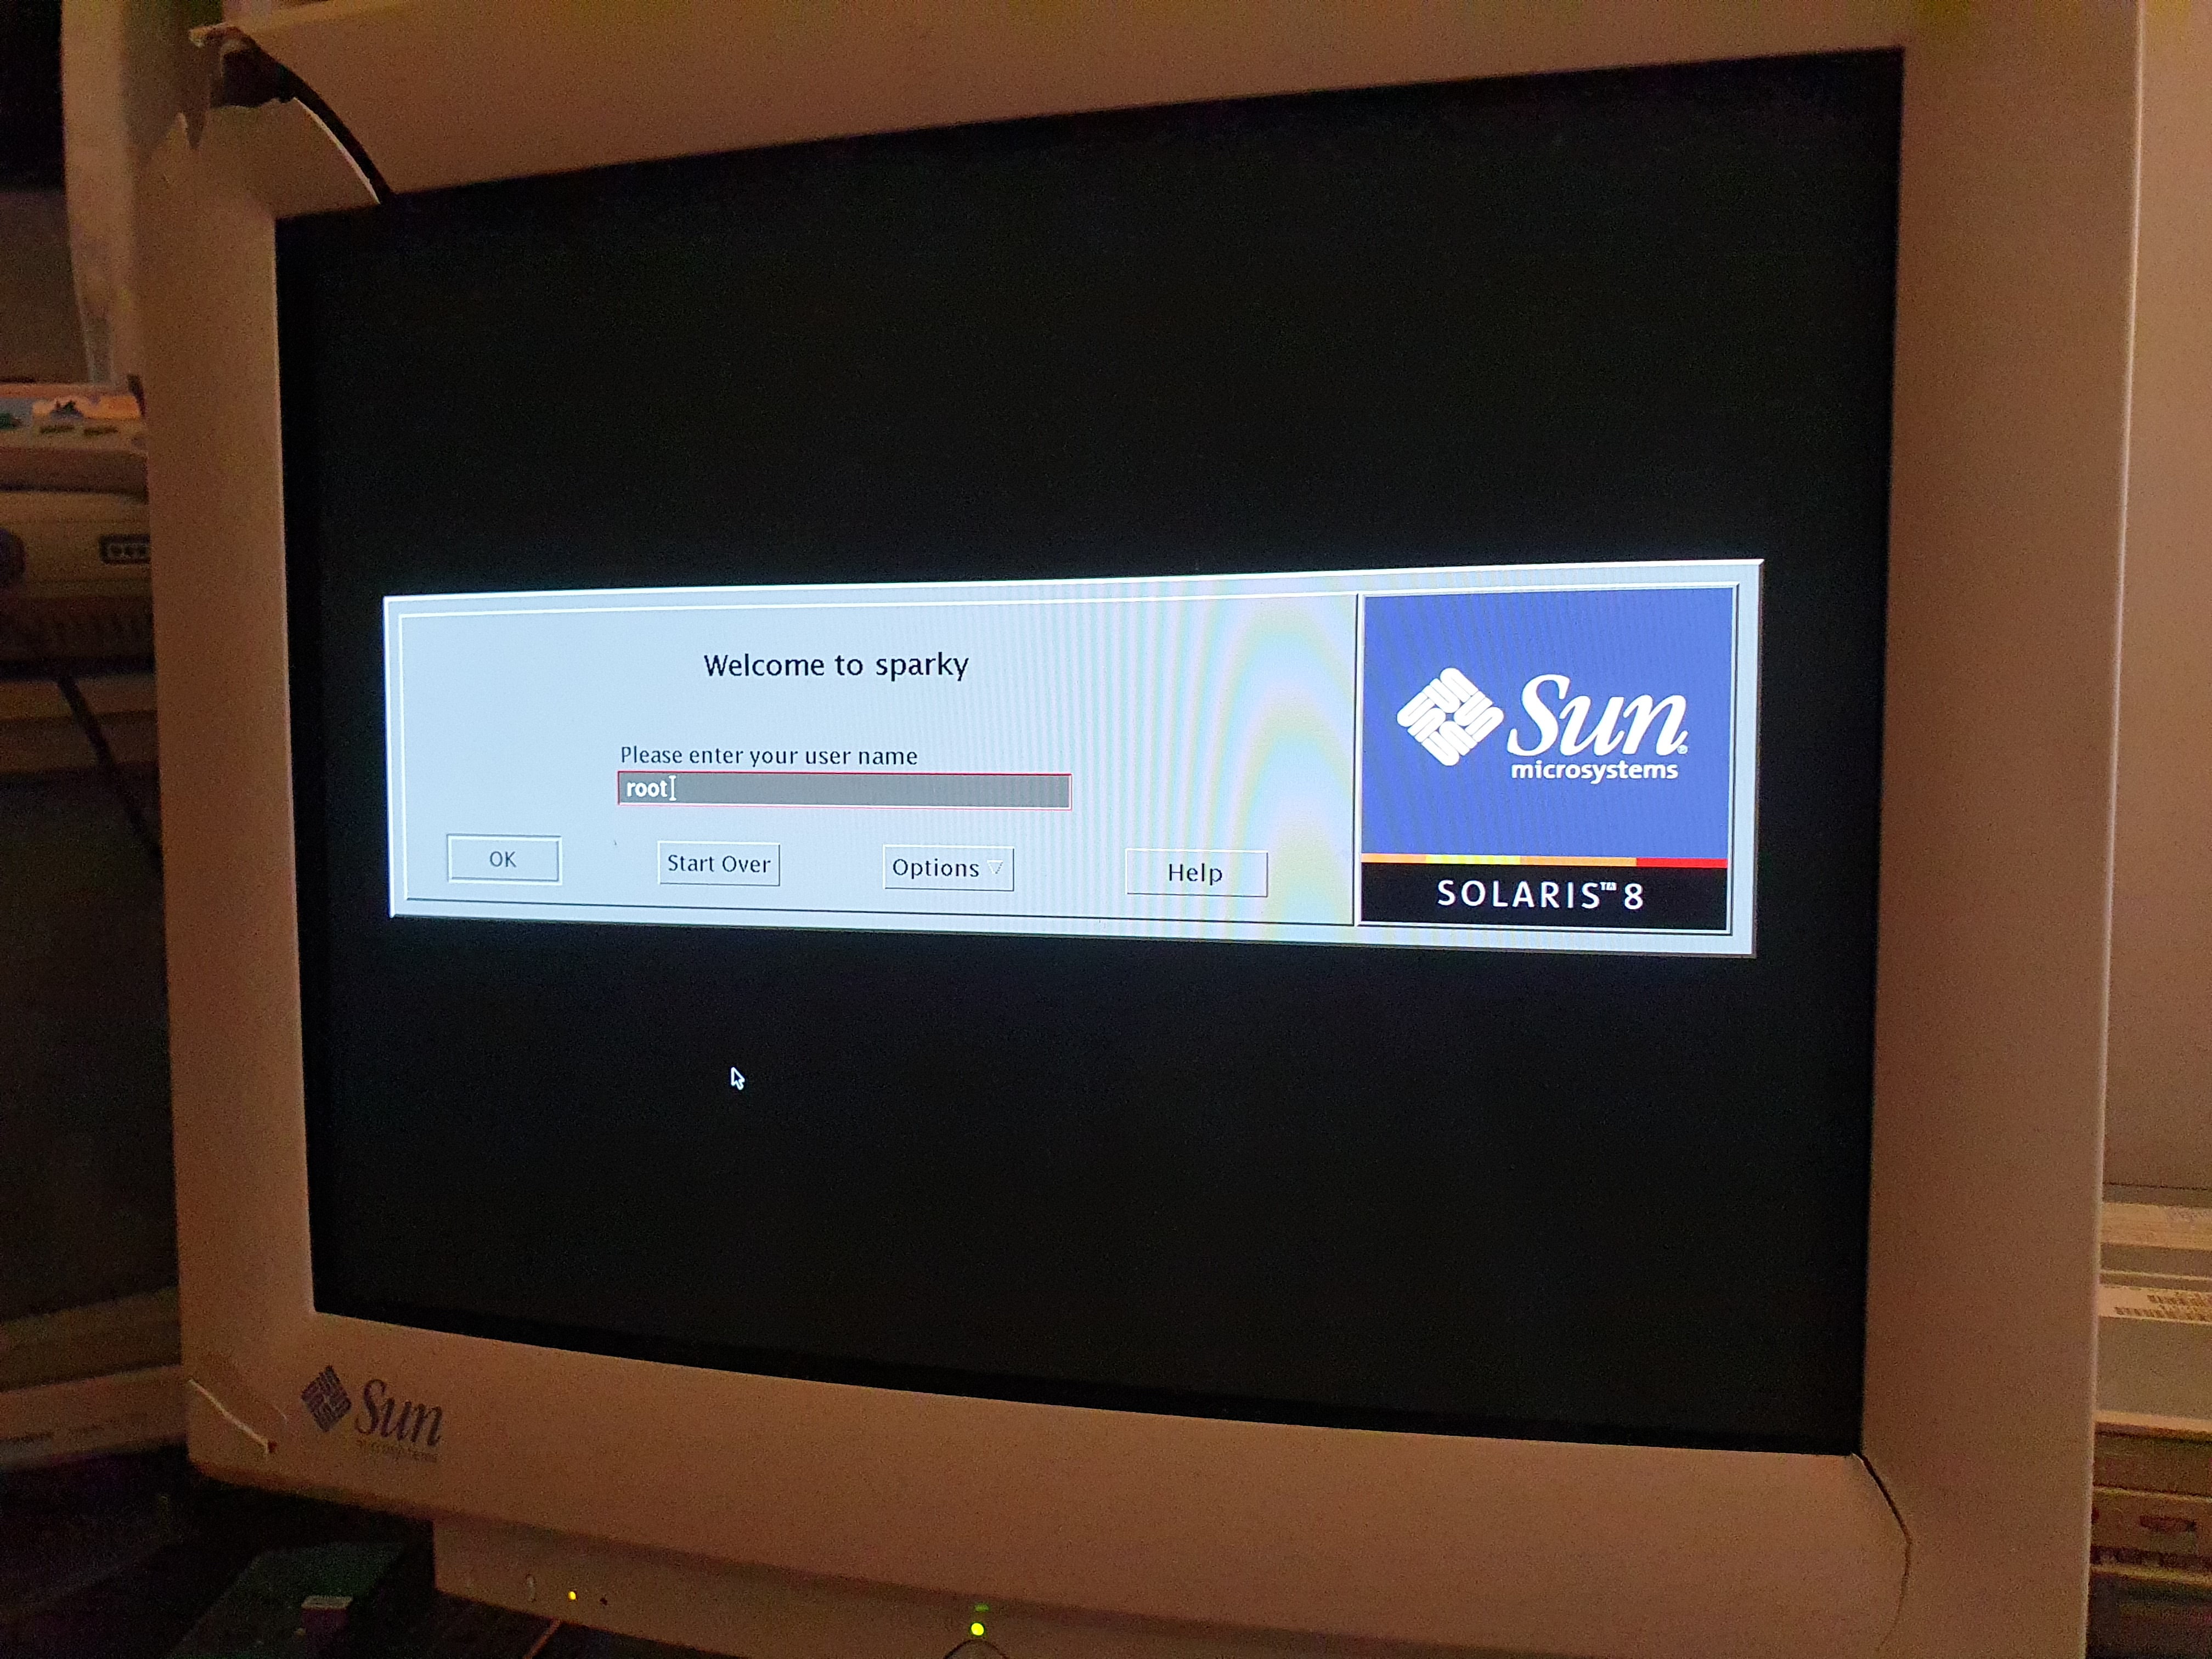
First boot
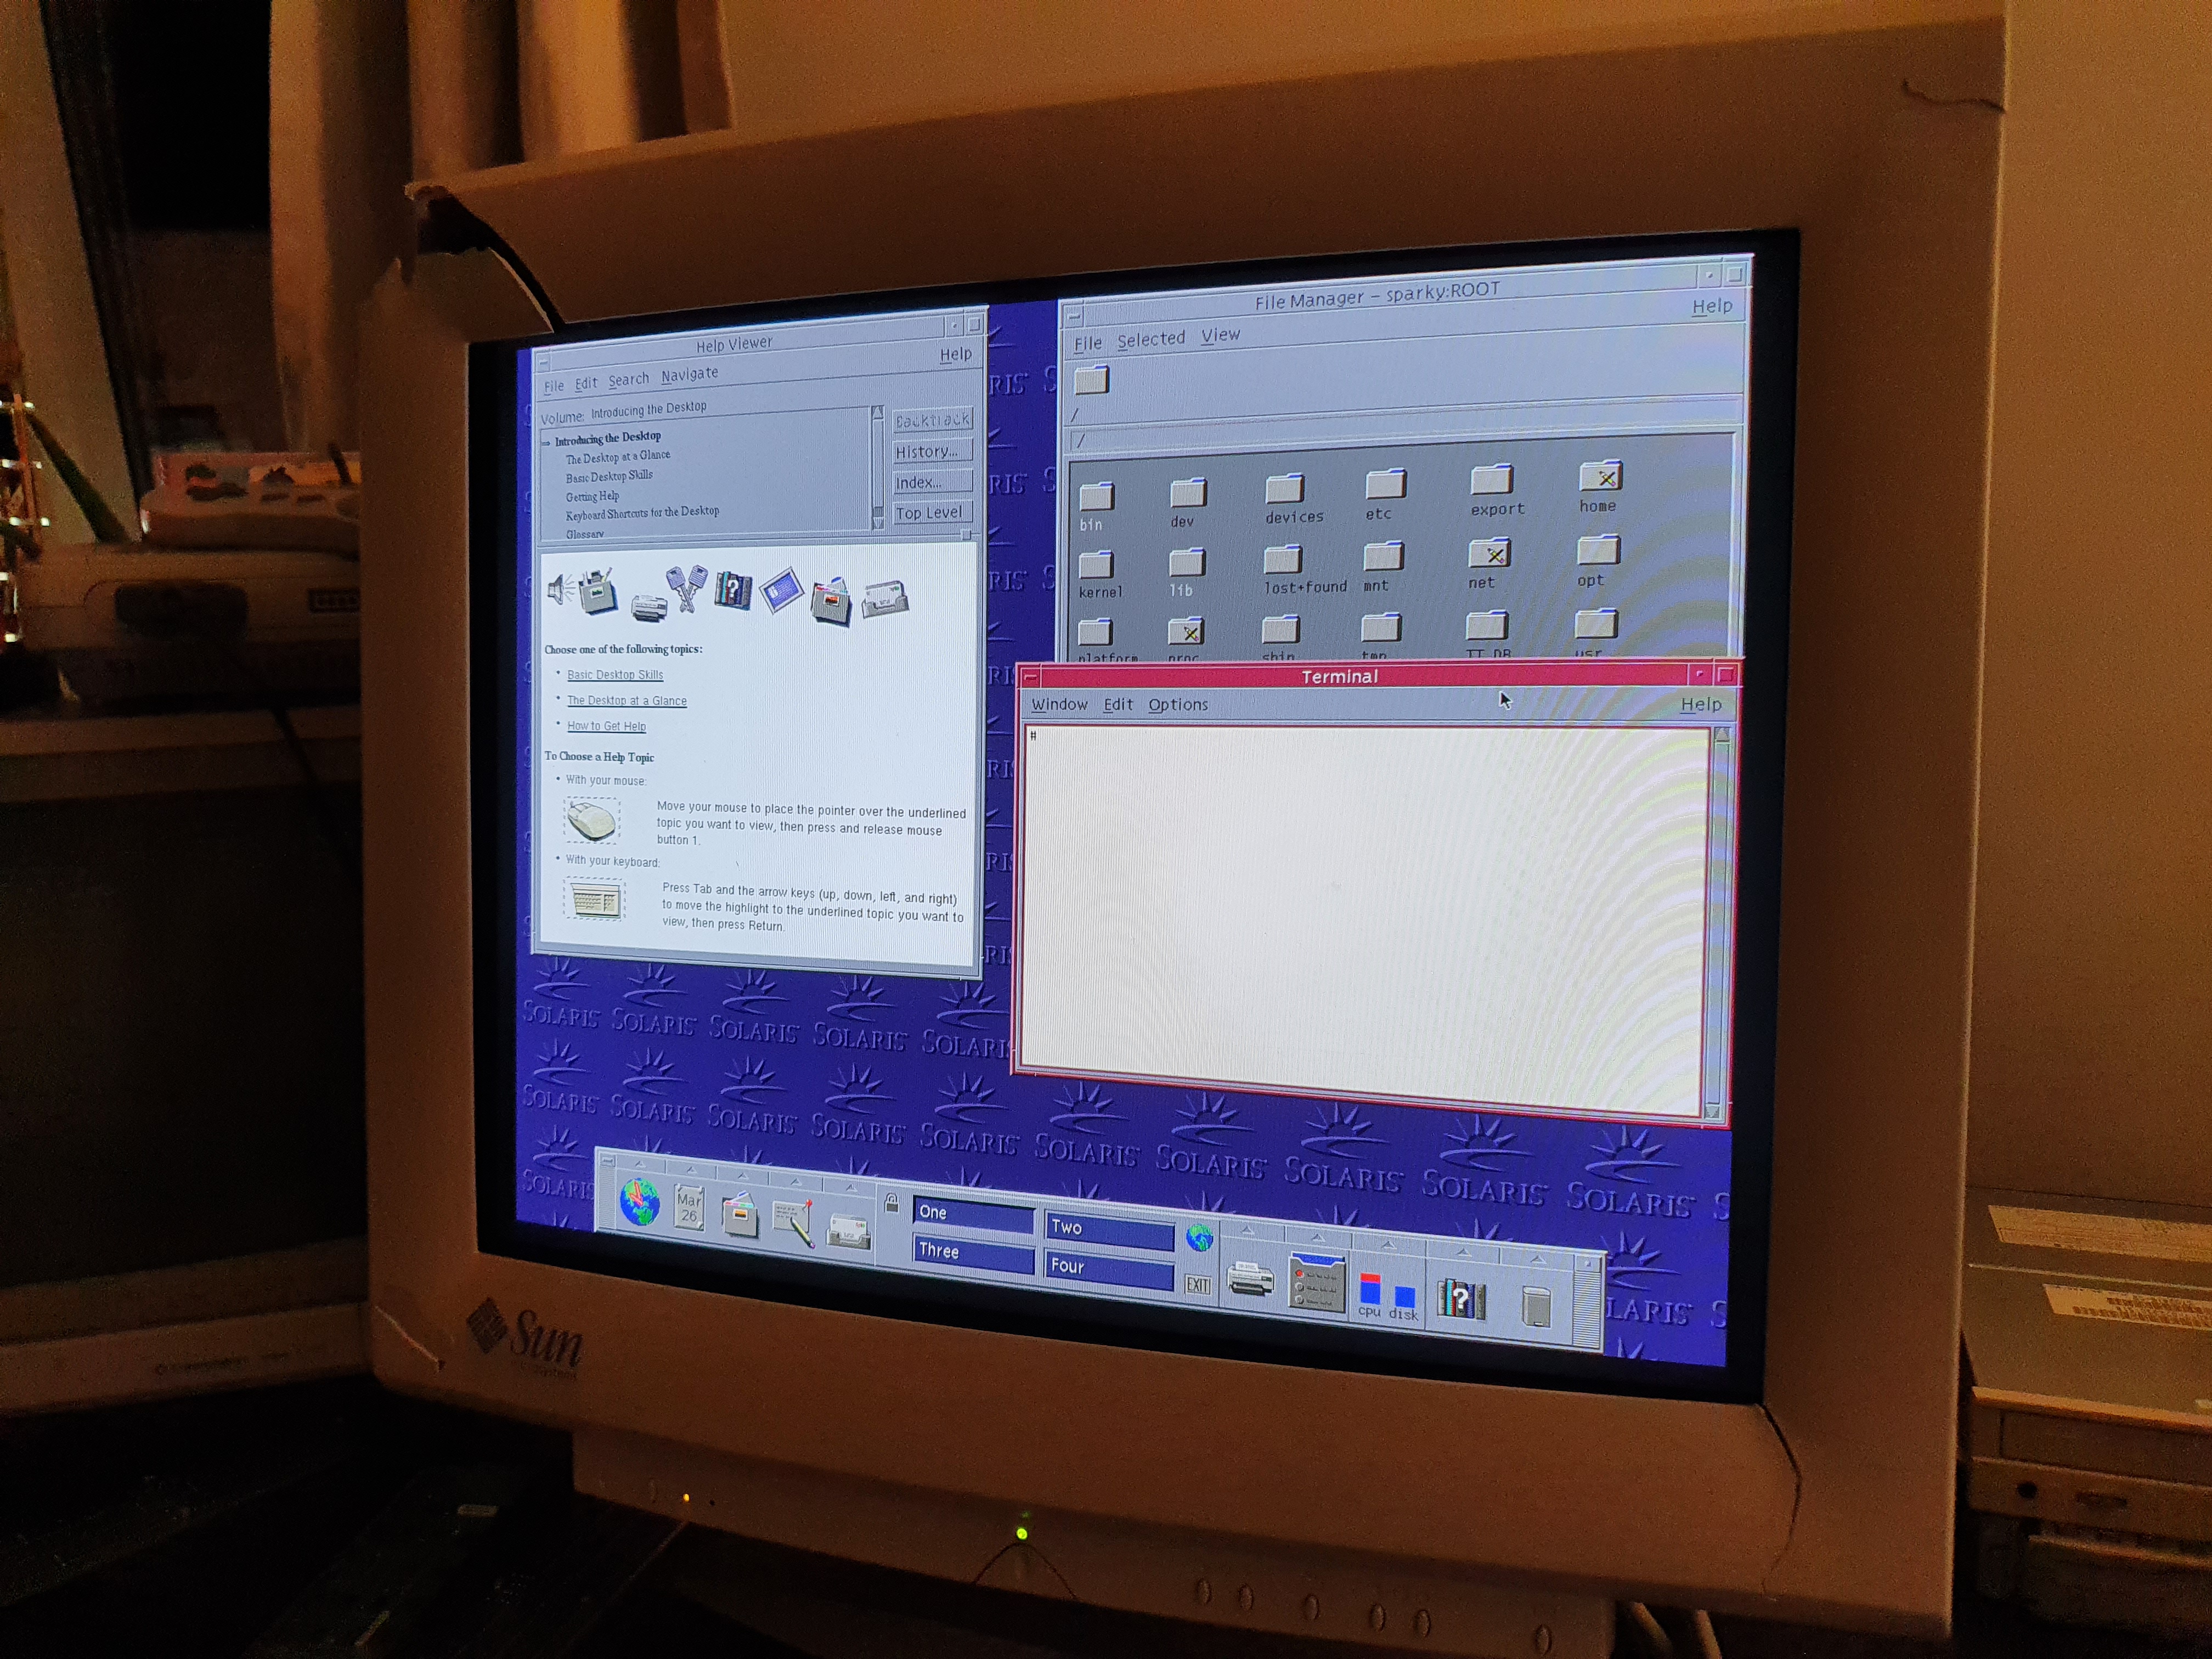
Let’s have a look at it! Let’s see what Solaris 8 brings us! And no, this is not going to be a command line experience! We need to go full year 2000 Unix and use the Common Desktop Environment - aka CDE.
Oh this is not your standard KDE or Gnome that you may be used to, this is CDE. And I am in love with the way it looks. Not really sure why, but I do enjoy its look and feel! Very industrial and built with a purpose. Oh yeah, and it tries really to simulate this real life thing with drawers and the like. Very very cool. You can actually get CDE running on modern Linux systems even today, so that is a thing I get to play with in the future.
This is all pretty neat, but I really need to figure out a way to get this big monitor out of the picture. It does not fit anywhere in my room, and as much as I would love to keep it around as an art installation I need to find an alternate screen for the Sun Workstation. That should not be so difficult, right? Right?
How I learned to love the 21" CRT Behemoth (I had to)
There is this thing when you are working with old hardware: Sometimes you just don’t have all the cables or adapters. Or the cable you have to use has been obsolete for a long long time and you need to find an adapter for it.
In my case, the Sun workstation uses a 13W3 connector:
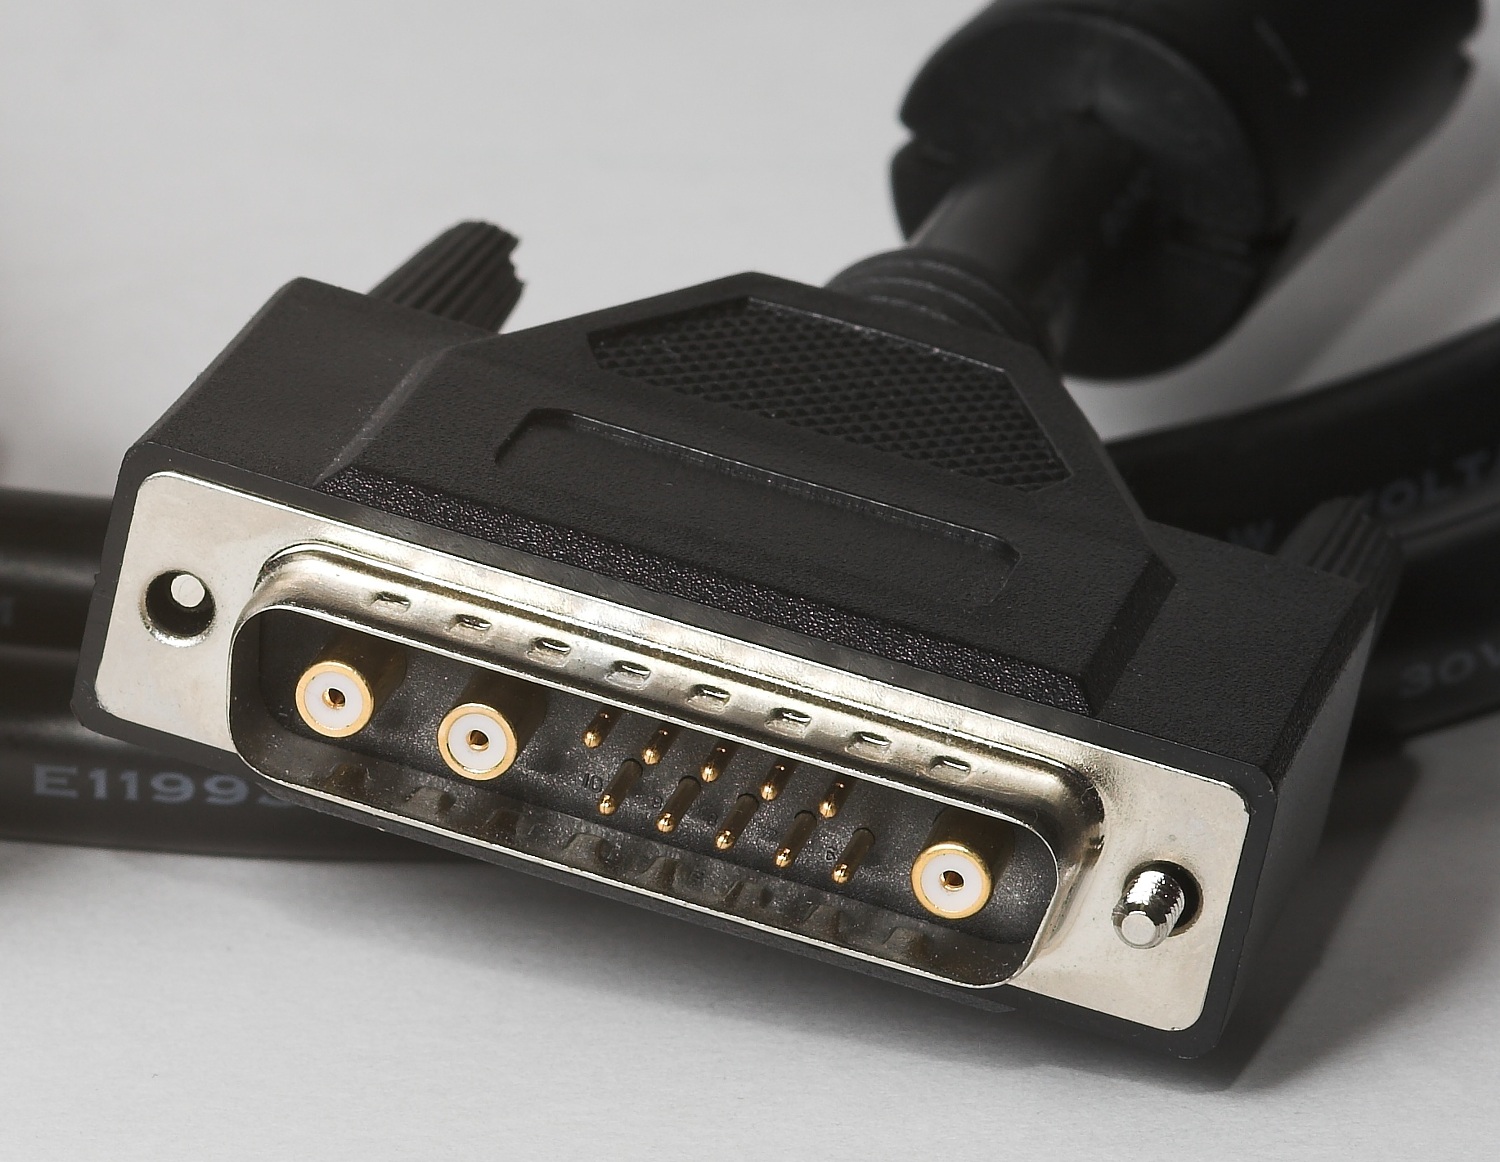
Look at it, why is it so big? Oh well, none the matter there must be a 13W3 to VGA converter. And yes, there is! eBay to the rescue, and I found myself this converter. Looks simple enough, I just need to import it from the United States at the cost of $25 for the adapter $18 for shipping, but its all worth it.
It’s not. Turns it out it does not work with my Dell P190s 19" LCD Screen. But why? Could it be the refresh rate? Maybe my screen does not support the refresh rate the CRT uses. As it turns out you can change your resolution in the Sun NVRAM. Okay so I set it to something sensible: 1024x768x60hz.
Still nothing.
Batteries don’t live as long as you think
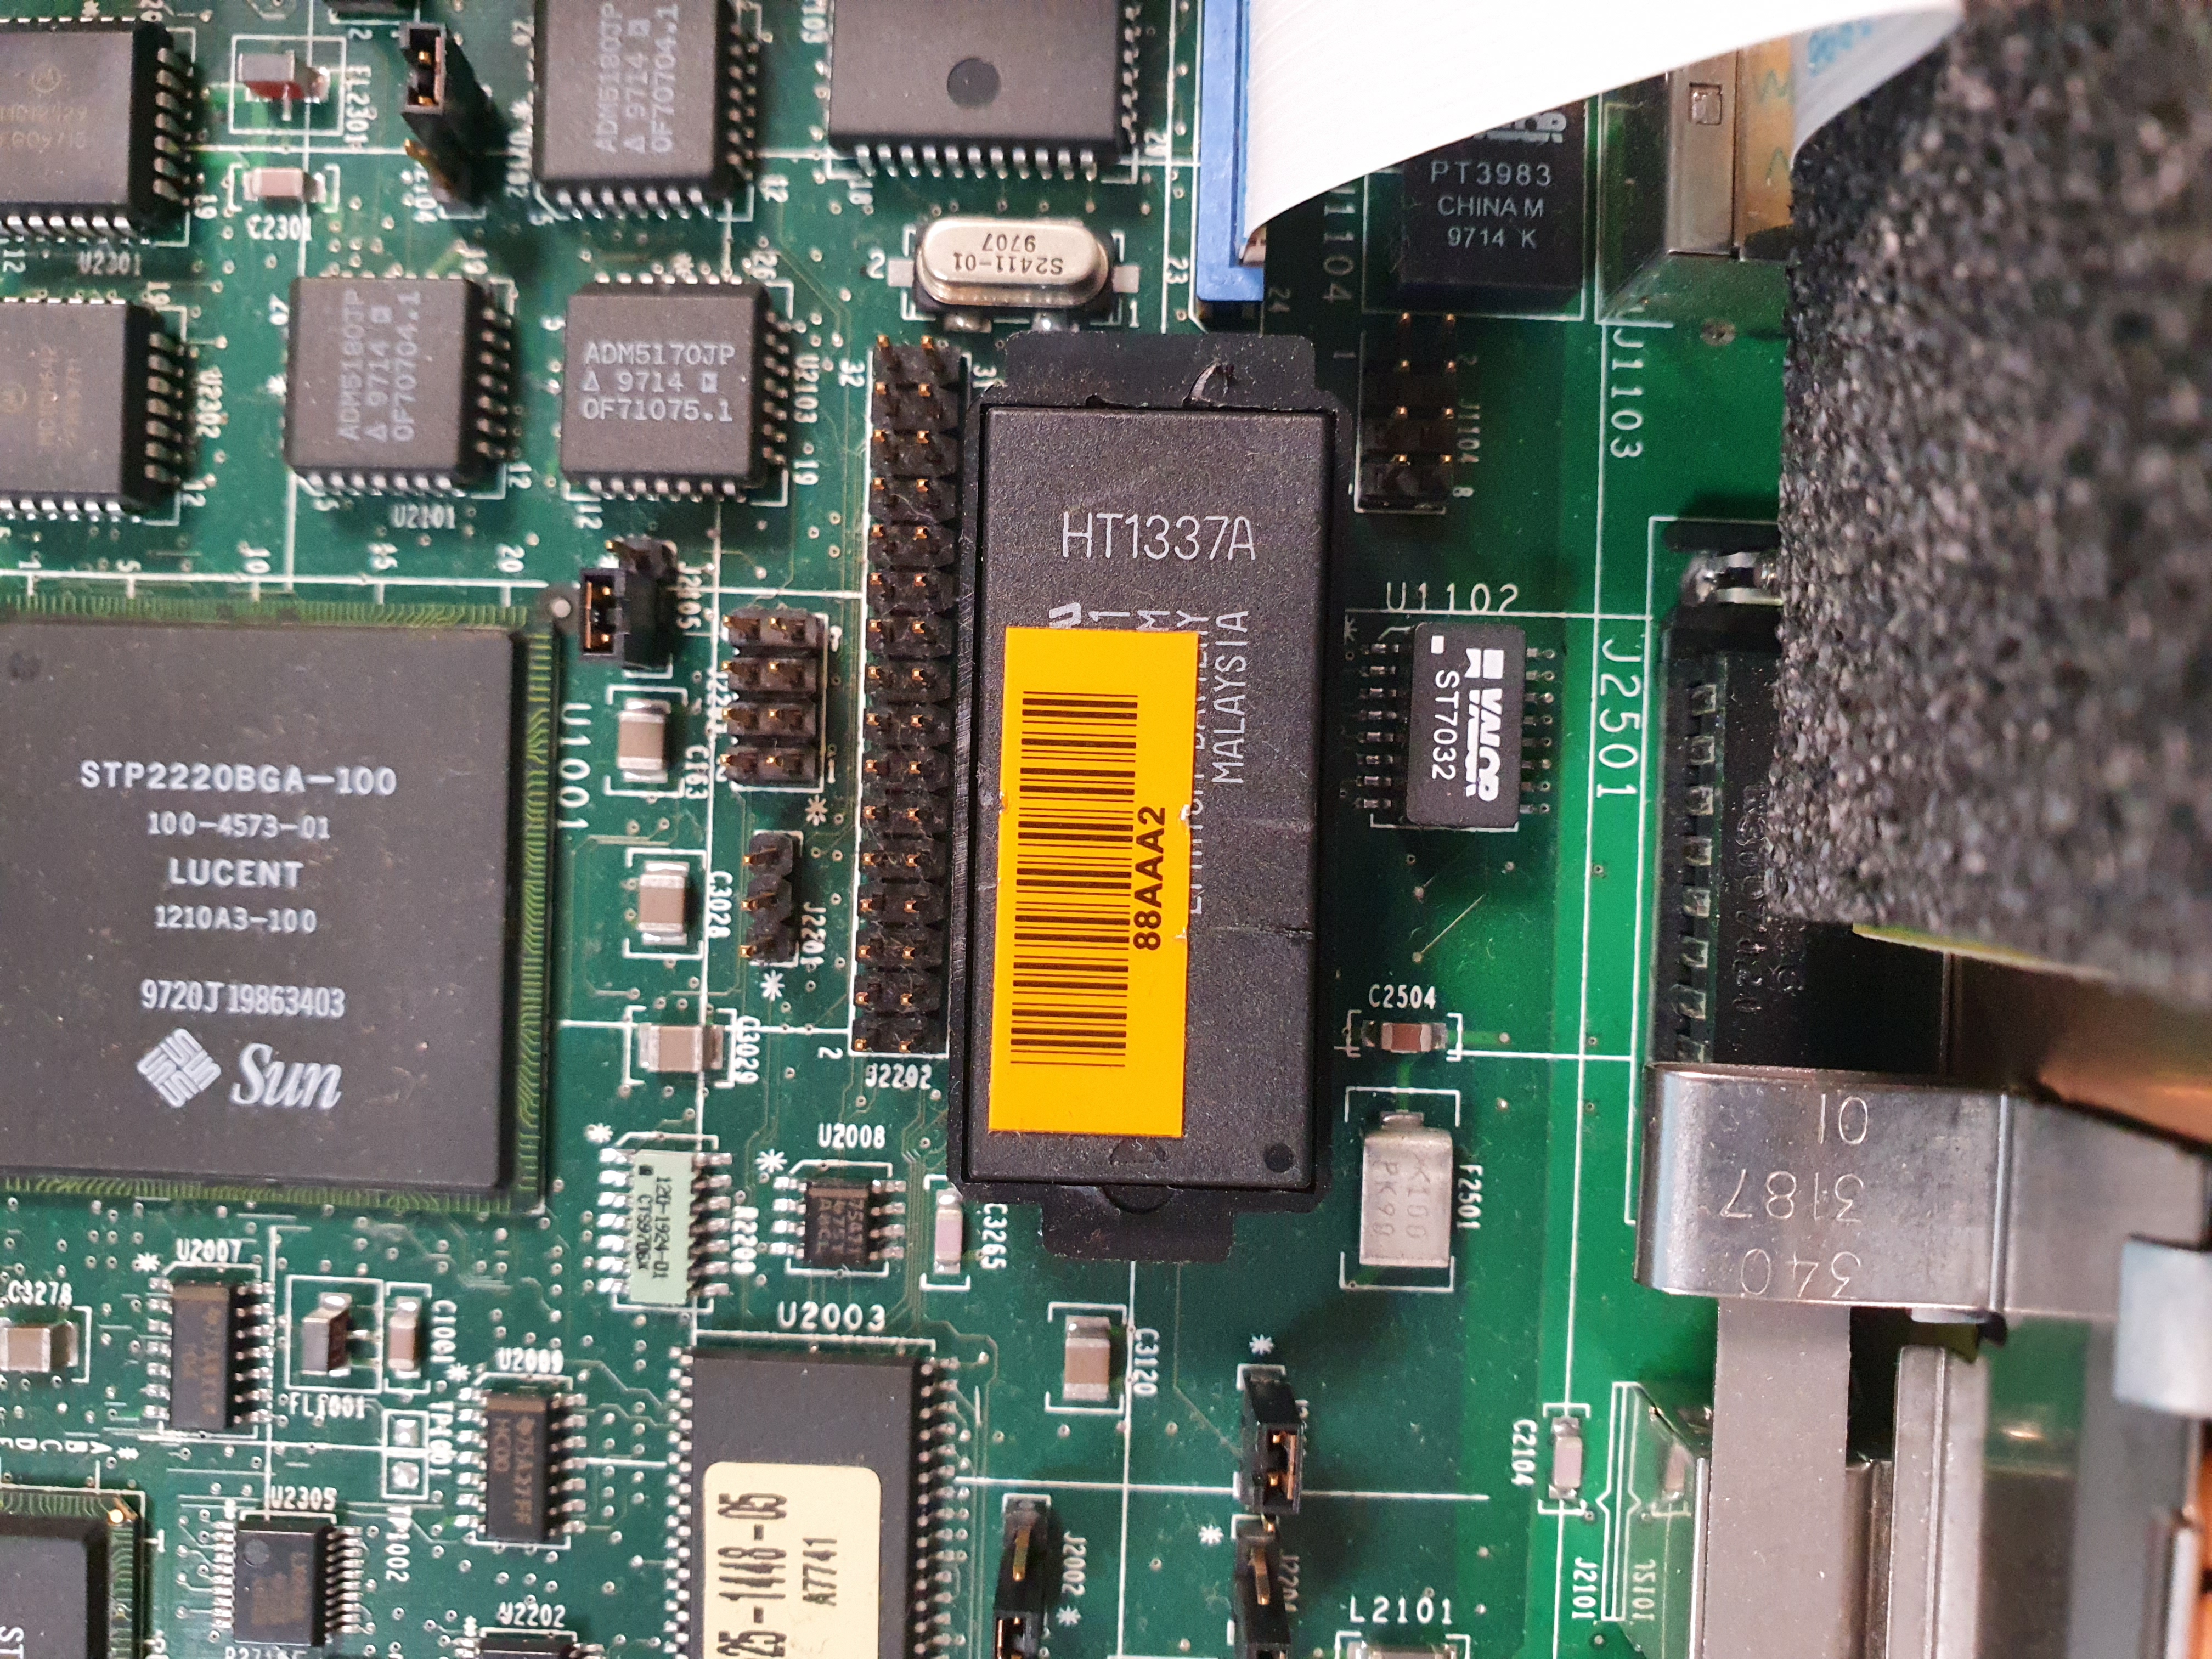
One of the fun things that a Sun workstation has is a NVRAM (Non-Volatile RAM) chip on board. This chip serves as the time keeper and also contains a battery that helps hold all the valuable information throughout many power cycles. The fun part about this NVRAM chip is that the battery is NOT rechargeable. So what do you think happens to a battery from 1995?
No it did not leak out, but it was flat out dead. This means, that every time I
would power cycle the system it would lose all its settings. Time, Date, Boot
device, even the MAC address of the Ethernet adapter would be reset to
ff:ff:ff:ff:ff. Not fun at all. And do you remember that long boot
time I spoke about in the start. Yeah this is because of that.
Now, how do I fix this? This is not your standard battery. It is actually a ST Microelectronics M48T59Y package. So the battery is molded inside. ST Microelectronics has stopped producing these, and you can get some of them on eBay but the prices are just crazy. Paying $50+ for this, is something I am not willing to do.
Looking at most of the guides out there show that you need to dremel out part of the package, until you reach the battery, and then - as a fix - you can solder on some Button cell battery system to it. I AM NOT DOING THAT!
Lucky for me there was a solution: May I introduce you to M48T59Y-70PC1, which costs a total of $3 on ebay. And yes, this is a replacement for the old NVRAM package.
I struggled a bit to take it out, but after some back and forth wiggling I managed to remove the old NVRAM package, and get the new one in. And, simple as that, it now works! Yay! 🚀
Only thing that is left is to configure the MAC address, one time and I should be good to go. Lucky for me that is all possible from the boot screen, you just need to enter the following:
set-defaults
1 0 mkp
80 1 mkp
8 2 mkp
0 3 mkp
20 4 mkp
xx 5 mkp
yy 6 mkp
zz 7 mkp
0 8 mkp
0 9 mkp
0 a mkp
0 b mkp
xx c mkp
yy d mkp
zz e mkp
0 f 0 do i idprom@ xor loop f mkp
Please Note: xx yy and zz you see in the above commands, represent the last 6 hex digits of your MAC address, and you can get it from your old NVRAM chip. There is a barcode or just some digits that can give you that number.
Now, type in banner, and you should be able to see your new mac
address live and ready.
Time to reboot, so just type reset
What do I do with it?
To be perfectly honest, this is about it. I’ve managed to get it working and booting properly. I have access to Solaris 8 and the wonderful CDE Environment. However, I do have some future plans for it, and I am sure to write about it here:
- Get a SCSI to SD Card adapter so I can get different versions of Solaris on easy
- Get it online ( A reinstall of Solaris should work there )
- Figure out how to get to working on an LCD screen
Definitely more to come, so stay tuned and sign up on the rss.